Written byJanet BahorunUpdated on Nov 16, 2025
Brief introduction: Cloning Windows 11 to a new SSD is a crucial step in upgrading your computer's storage and performance. By transferring your Windows OS, applications, and files seamlessly, you can enjoy faster boot times and improved responsiveness without the need for tedious reinstallation. In this guide, we will walk you through the process of cloning Windows 11 to SSD using Tatasoft disk cloning software, making it accessible for users of all skill levels. Get ready to unlock the full potential of your Windows 11 system and experience the benefits of an SSD upgrade.
In this article
Why Clone Windows 11 to a New SSD?

Cloning Windows 11 to a new SSD offers following benefits:
- 1. Improved Speed: SSDs are faster than traditional hard drives, leading to quicker boot times and faster application launches if migrating your HDD with OS to SSD.
- 2. System Migration: Cloning allows you to maintain your existing setup without reinstalling, including files, applications and personalized settings, making for a smoother transition.
- 3. Backup and Recovery: A cloned SSD serves as an effective backup, making it easier to recover your Windows 11 system in case of hardware failure.
Prerequisites for Cloning Windows 11
Before starting the cloning process, ensure you have the following:
- A New SSD: Ensure that your new SSD has sufficient space to accommodate your existing system
- Connection Cables: Depending on your setup, you may need SATA to USB adapters to connect the SSD.
- A disk cloning software: we recommend Tatasoft Disk Clone for Windows to clone your Windows 11 to SSD.
Preparing for the Cloning Process
- 1. Connect the new SSD: Use a SATA-to-USB adapter to connect your new SSD to your Windows 11 PC.
- 2. Initialize the new SSD: Open Disk Management (press Win + X > Disk Management) > Right-click the new SSD, select Initialize Disk.
- 3. Check Drive Health: Use tools like CHKDSK to check the health of your current hard drive. Ensure that it’s in good condition to avoid issues during cloning.
- 4. Free Up Disk Space of Windows 11 disk: Remove unnecessary files and applications in Windows 11 to streamline the cloning process. This can help speed up the operation and reduce the amount of data being transferred.
Step-by-Step Guide to Clone Windows 11 to a New SSD
Step 1: Download and Install Tatasoft Disk Clone
download Tatasoft Disk Clone and follow the prompts to install the software on your Windows 11 computer.
Step 2: Launch Tatasoft Disk Clone and switch to "Disk Clone"
- ① Launch Tatasoft Disk Clone from your applications menu.
- ② Select Cloning Option: Choose the "Disk Clone" to clone Windows 11 to SSD.
Step 3: Select Source and Destination Drives on Windows 11 to clone
- ① Choose Source Drive: In the Tatasoft interface, select your existing system hard drive as the source drive.
- ② Choose Destination Drive: Select your new SSD as the destination for the cloned data.

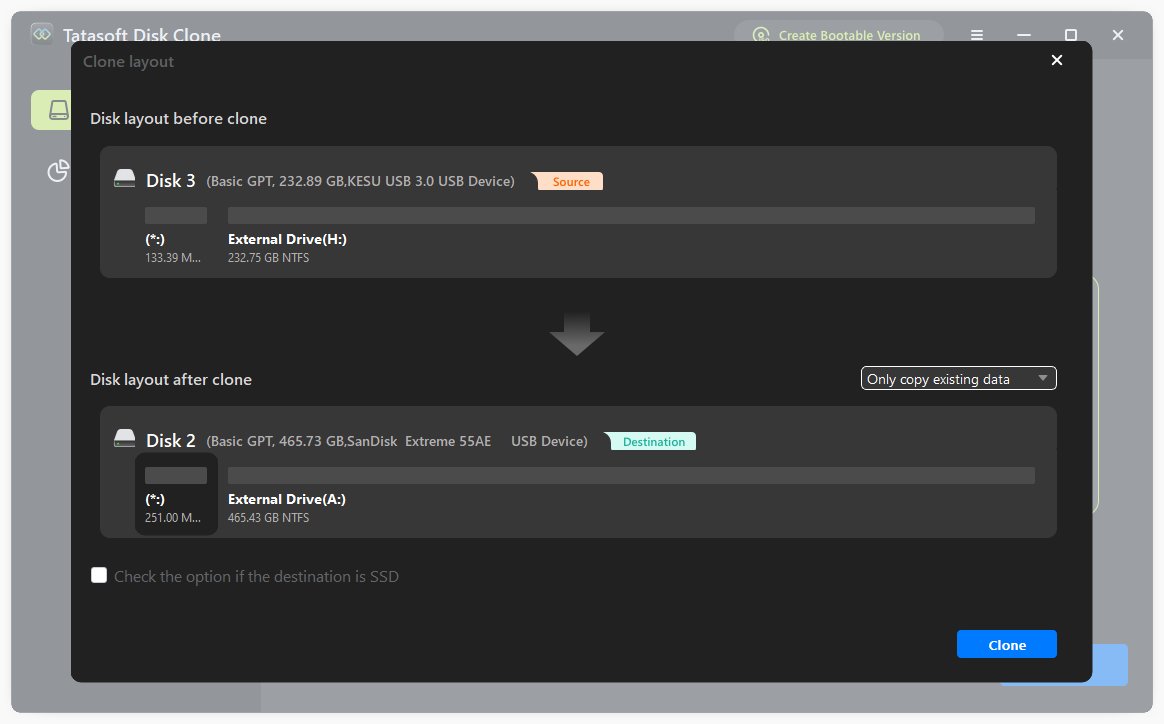
Step 4: Edit the partition layout on the new SSD after cloning
- ① You can modify the partition sizes on the destination disk as needed. If you want to duplicate the exact partition structure from the source disk onto the destination, select Clone as the source.
- ② Check this box before "Check the option if the destination is SSD" to enable SSD alignment and TRIM optimizations.
Step 5: Start the cloning process and wait for completion
- ① Review Your Selections: Double-check that you have selected the correct source and destination drives.
- ② Initiate Cloning: Click the "Next" button to start the cloning process. A progress bar will show the operation's status.
- ③ Monitor Progress: The cloning process may take some time, depending on the amount of data. Ensure your computer remains powered on.
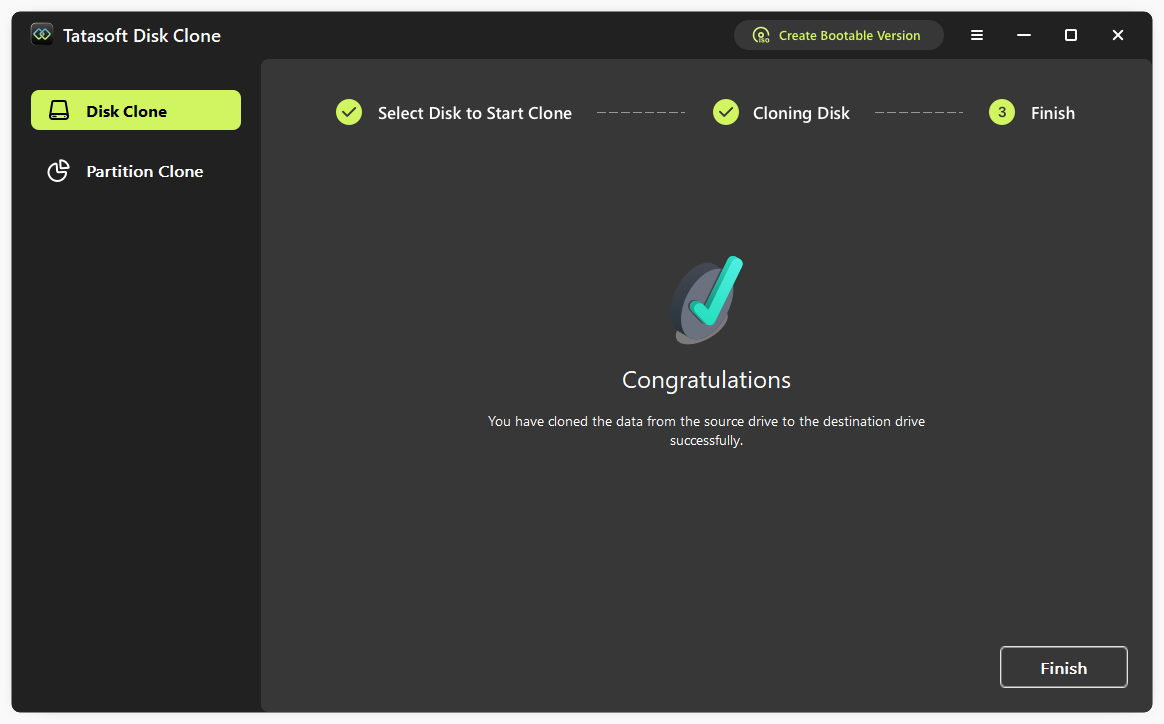
- ④ Completion Notification: Tatasoft will notify you once the Windows 11 cloning is complete.
Step 6: Verify the Clone
- ① Check the Cloning Report: Review the summary report provided by Tatasoft to confirm successful cloning.
- ② Safely Remove the SSD: Disconnect the new SSD from your computer after cloning based on your requirements.
Step 7: Replace the Old Drive with the newly cloned SSD(Optional)
If you wish to replace your old Windows 11 disk with the SSD:
- ① Turn Off Your Computer: Shut down your computer and unplug it.
- ② Open the Computer Case: Use a screwdriver to remove the screws holding the case.
- ③ Swap the Drives: Disconnect the old hard drive and connect the new SSD in its place.
- ④ Secure the Case: Close the computer case and screw it back together.
- ⑤ Power On: Start your computer and ensure Windows 11 boots from the new SSD.
Expert Insight: Cloning Windows 11 to an SSD not only enhances performance but also streamlines the upgrade process. With intuitive solutions like Tatasoft disk clone available, users can easily transition to a faster system while ensuring their applications and settings remain intact. This strategic move can lead to noticeable improvements in productivity and system longevity, preparing your setup for demanding applications and workloads.
Troubleshooting Common Issues
While cloning Windows 11 to a new SSD is generally straightforward, issues may arise. Here are some common problems and their solutions:
- Drive Not Recognized: Ensure all connections are secure and the SSD is properly formatted.
- Cloning Fails: Restart your computer and try the process again. Close any running applications that may interfere.
- Boot Issues: If Windows does not boot from the new SSD, verify your BIOS settings to ensure the SSD is set as the primary boot device.
Post-Cloning Optimization
1. Adjust Windows Settings
You can skip this step if the SSD optimization option was selected during the Windows 11 cloning process
- Enable TRIM: Ensure TRIM is enabled to maintain SSD performance over time. You can check this by running the command `fsutil behavior query DisableDeleteNotify` in Command Prompt.
- Optimize SSD Settings: In Windows, go to Settings > System > Storage and ensure your SSD is set to optimize storage.
2. Backup Your New SSD
- Consider creating a backup of your newly cloned SSD. This will provide peace of mind and a quick recovery option in case of future issues.
Conclusion
Cloning Windows 11 to a new SSD can dramatically improve your system's performance and provide an efficient way to upgrade your storage. By following this guide, you can successfully use Tatasoft Disk Clone to migrate your Windows 11 operating system and files seamlessly. With the right preparation and tools, the transition to an SSD can be straightforward, offering faster boot times and a more responsive computing experience.
Download Tatasoft Disk Clone today and experience the ease of cloning your Windows 11 and enjoy a faster, more efficient setup!
Related Articles
- Aug 24, 2025How to Copy a Partition in Windows 7/8/10/11 Safely?
- Nov 16, 2025Migrate Windows 11 to SSD with Ease - Boost Your PC Performance
- Nov 27, 2025Essential Techniques for Cloning Your Hard Drive in Windows 11
- Nov 25, 2025Step-by-Step Guide to Clone System HDD to SSD for Maximum Performance
- Nov 23, 2025How to Efficiently Clone Your NTFS Drive? 2 Methods
- Nov 23, 2025Complete Guide to Clone SSD to SSD Effortlessly

a dedicated data recovery writer, has been a pivotal part of the Tatasoft team for over 4 years. Before this, he enriched IBM for 13 years as a Backup and Recovery: TSM Subject Matter Expert. A proud alumn...
Read full bio

This article has been approved by Brett. Bett's dedication to excellence and his comprehensive knowledge of Windows and Mac technologies make her an essential part of any technical writing team. With a career marked by continuous learning and adaptation to new technologies, Bett remains at the forefront of the ever-evolving tech landscape.