Written byJanet BashorunUpdated on Mar 09, 2026
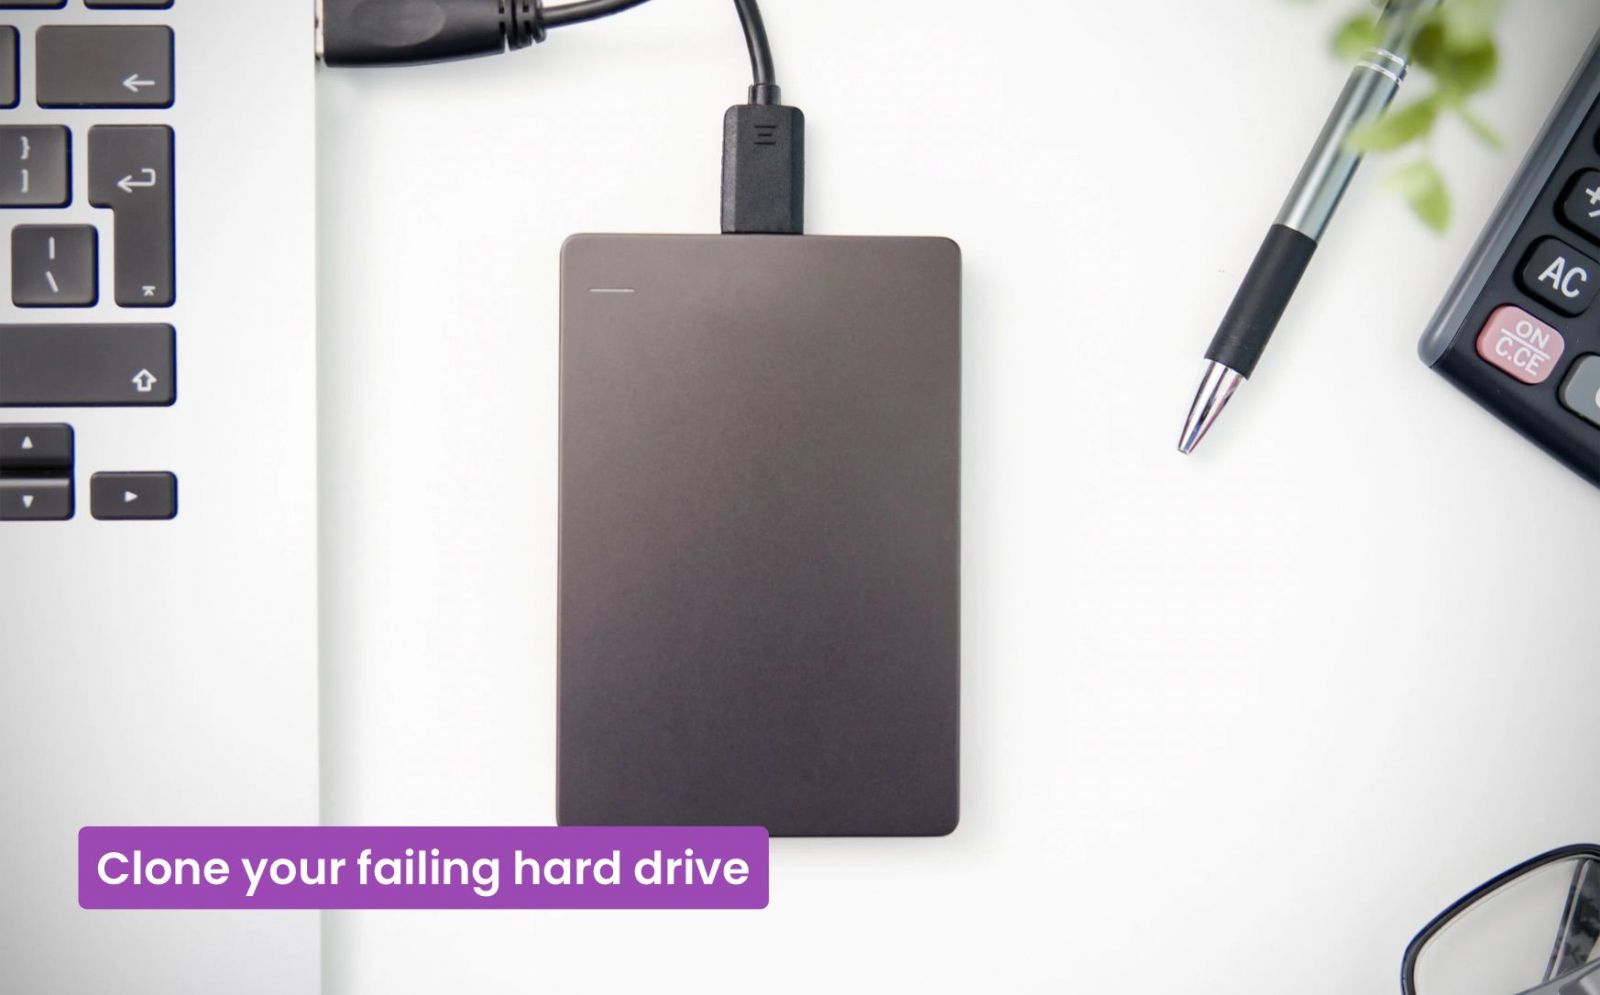
Three Simple Steps to Clone Your Failing Hard Drive to a New Disk
Approved byBen Lee
Brief introduction: Cloning a failing hard drive is a crucial step in data preservation and recovery. As hard drives age, they can develop bad sectors and other issues that jeopardize the integrity of stored data. By cloning the drive, you create an exact copy of the data, which can be transferred to a new drive, safeguarding against total data loss caused by hardware collapse. In this guide, we’ll explore the process of cloning a failing hard drive in Windows Vista/7/8/10/11 using Tatasoft Disk Clone, highlighting best practices and tips to ensure success.
In this article
Understanding Hard Drive Failure
A failing hard drive can exhibit various warning signs, including:
- Frequent crashes or freezes ("blue screens")
- Unusual noises (clicking, grinding, or buzzing sounds)
- Extremely slow performance or file access issues
- Corrupted files and data loss
- Bad sectors reported by disk utilities
- S.M.A.R.T. (Self-Monitoring) failure warnings
Before diving into the cloning process, it’s essential to understand why hard drives fail. Common causes include:
- Mechanical Failures: Physical issues like a malfunctioning read/write head or spinning motor.
- Electronic Failures: Power surges or component failures within the drive.
- Logical Failures: Corruption of the file system or data that prevents access.
Recognizing these symptoms early can help you take proactive steps to clone your drive before total failure occurs.
Importance of Cloning a Failing Hard Drive
Cloning a failing hard drive creates an exact duplicate of its contents onto a healthy drive before the original fails completely. It is crucial for several reasons:
- 1. Data Preservation: Cloning captures all your data, including the operating system, applications, and personal files, ensuring nothing is lost during the transition.
- 2. Time Efficiency: Instead of reinstalling everything on a new drive, cloning saves you hours of setup and configuration time.
- 3. System Continuity: After cloning, you can boot from the new drive as if nothing has changed, providing a seamless experience.
Step-by-Step Guide to Cloning a Failing Hard Drive
Before you begin the hard drive cloning process, follow these essential steps:
1. Assess the Condition of Your Hard Drive: Use diagnostic tools like CrystalDiskInfo to evaluate the health of your failing hard drive. Look for indicators such as:
- SMART errors
- Overall Health Status: "Caution" or "Bad" indicates severe risk.
This assessment will help determine if it's feasible to clone the drive. If SMART shows "FAILED", avoid cloning and consult Tatasoft support service.
2. Choose Disk Cloning Software: Selecting the right hard disk cloning software is critical for a successful cloning process. Tatasoft disk cloning software is an excellent choice due to its user-friendly interface and robust features, designed to handle complex cloning tasks, including those involving failing drives. Most importantly, it automatically skips bad sectors during cloning to ensure the success rate and preserve data integrity.
3. Backup Important Data: While cloning is a reliable method for data preservation, it's wise to back up critical files separately to a different location, such as an external drive or cloud storage.
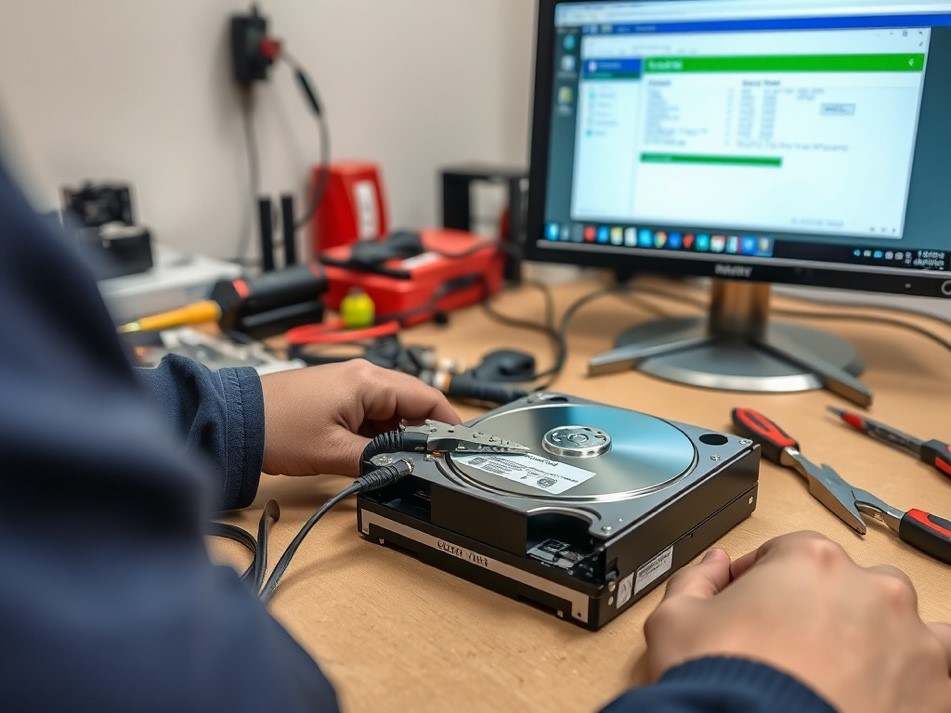
4. Connect the New Hard Drive: Ensure that your new hard drive is properly connected to your computer. Use a USB-to-SATA adapter if you're using a laptop or if the new drive is external.
Preparing for the Hard Drive Cloning Process
Now that you're prepared, follow these steps to clone your failing hard drive using Tatasoft Disk Clone for Windows:
Step 1: Launch Tatasoft Disk Clone for Windows and choose Disk Clone
Step 2: Select the Source drive (the falling disk) and the Destination drive to clone
- ① Identify your failing hard drive as the source drive within the software.
- ② Select the new hard drive as your destination. Ensure that it has enough space to accommodate all the data from the failing drive.

Step 3: Begin hard drive cloning and verify cloning success
- ① Edit partition layout on the destination disk.
- ② Review your selections, and click the "Clone" button to start the process. Monitor the progress bar to ensure everything is functioning correctly.
- ③ Once the cloning process is complete, check the new drive to confirm that all data has been accurately transferred. Look for file integrity and application functionality.

Swap Drives after Cloning (if necessary)
If you're replacing your falling drive after cloning, power down your computer, swap the drives, and boot from the new drive.
Post-Cloning Considerations
After cloning your failing hard drive, it's crucial to take a few additional steps:
- Test the New Drive: Boot your system from the new drive and ensure everything operates as expected. Open files, run applications, and check for any issues.
- Format the Old Drive (optional): If you plan to repurpose the old drive, format it to erase all the remaining data, making it suitable for use again.
Best Practices for Cloning a Failing Hard Drive
- Act Quickly: The sooner you clone, the better your chances of successful data recovery.
- Use Quality Disk Clone Software: Tatasoft Disk Clone for Windows designed for reliability and ease of use.
- Regularly Check Drive Health: Use diagnostic tools to monitor the condition of your drives. Replace the hard drive immediately upon detecting any signs of trouble.
Troubleshooting Common Cloning Issues
- Drive Not Recognized: Ensure that the failing drive is properly connected and powered on. Check cables and connections.
- Insufficient Space: Confirm that the destination drive has adequate space to accommodate data from the source drive. Usually it's allowed to clone Windows OS to smaller SSD if the target drive has enough capacity for the source data.
- Cloning Errors: If errors occur, restart the system and attempt the cloning process again, ensuring no other applications are running that could interfere.
Conclusion
Cloning a failing hard drive is a critical task that can save your data, provide a seamless transition to a new drive, reducing the trouble of unnecessary reinstallation. By using Tatasoft Disk Clone, you can navigate this HDD cloning process with confidence, ensuring your valuable data is preserved. It performs valid cloning by targeting the entire content of the hard drive while actively skipping physical bad sectors, rather than performing full sector-by-sector mapping. Consequently, the new cloned drive remains free from the physical defects present on the original disk.
FAQs
No. When using intelligent disk clone software like Tatasoft Disk Clone, it will automatically skip physical bad sectors during the cloning process, so the cloned drive should be free of the physical defects found on the source.
The data that is damaged on the source will still be damaged, if it can even be successfully read while cloning. The cloning process merely replicates existing data states; it does not fix pre-existing corruption.
Related Articles
- Jan 08, 2026Maximize Your HP Laptop's Potential by Upgrading to an SSD
- Dec 17, 2025Disk Cloning vs. Disk Imaging: Which Backup Solution is Right for You?
- Mar 04, 2026How to Clone Your Old Computer to a New One: Step-by-Step Guide
- Jan 05, 2026How to Clone Your Dynamic Disk to SSD to Boost Your PC Performance
- Mar 06, 2026The Complete Guide on How to Install a New Hard Disk for Desktops and Laptops
- Mar 05, 2026How to Copy USB to USB Efficiently?

A dedicated technical writer at Tatasoft with over four years of specialized expertise in computing technology. She crafts actionable, user-centric content for tech niches, specializing in disk cloning, data management, and video solutions for Windows and Mac.
Read full bio

This article has been approved by Ben Lee. Ben's dedication to excellence and his comprehensive knowledge of Windows and Mac technologies make him an essential part of any technical writing team. With a career marked by continuous learning and adaptation to new technologies, Ben remains at the forefront of the ever-evolving tech landscape.