Written byJanet BashorunUpdated on Jan 15, 2026
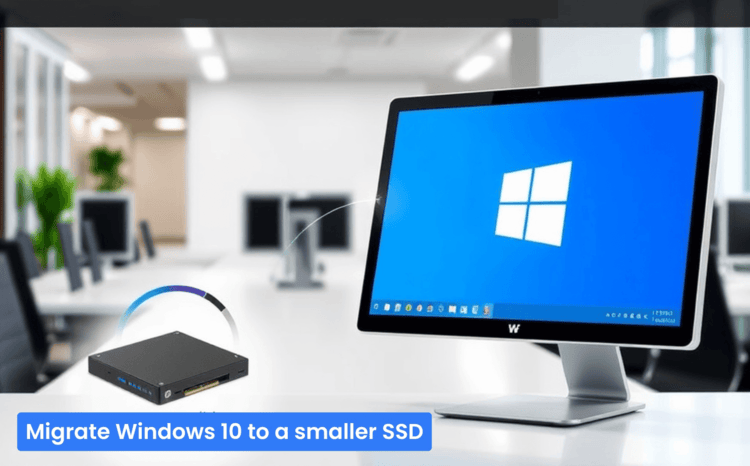
Brief introduction: Migrate Windows 10 to a smaller SSD and unlock substantial performance and efficiency gains. This transition not only frees up valuable storage space but also boosts your system’s responsiveness and speed. This comprehensive guide walks you through the process, providing clear steps and crucial insights to ensure a seamless Windows migration using Tatasoft disk cloning software.
In this article
Why Migrate Windows 10 to a Smaller SSD?
Migrating to a smaller SSD might seem counterintuitive, but there are several valid reasons for wanting to do this:
- Improved Performance: Smaller SSDs can sometimes perform better due to less data being stored, meaning data can be accessed faster.
- Cost-Effective Upgrades: If you're looking to upgrade your storage without spending too much, a smaller SSD may be a budget-friendly choice.
- Repurposing Old SSDs: Utilizing smaller SSDs that you already have can help save costs while still improving system speed compared to traditional HDDs.
- Space Management: In many cases, users accumulate a lot of unneeded data over time. Migrating Windows 10 to a new drive can help encourage proper data management and decluttering.
Step-by-Step Guide to Migrate Windows 10 to Smaller SSD
Step 1: Prepare for Windows migration
Before you begin the migration process, follow these preparation steps:
- ① Backup Important Files: Ensure that all your important data on the target SSD is backed up to an external drive or cloud storage. The destination disk will be formatted during the migration.
- ② Free Up Space: Check your current storage and delete unnecessary files and apps. Use Windows tools to remove temporary files and empty the Recycle Bin. This step is crucial when migrating to a smaller volume.
- ③ Check SSD Compatibility: Ensure that your new SSD is compatible with your computer (interface type, size, etc.)
Step 2: Download and install Tatasoft Disk Clone
To migrate Windows 10 to a smaller SSD, a trusted, go-to reliable disk cloning tool is essential – and Tatasoft Disk Clone for Windows stands out as a top-tier choice. This dependable solution streamlines the entire Windows migration process, making it a highly recommended option for seamless, hassle-free OS transfer.
Step 3: Connect the new SSD to your Windows 10 pc
You need to ensure that your smaller SSD is connected to your computer before starting the migration process:
For Desktops:
- ① Power off your desktop and disconnect all cables.
- ② Open the computer case and connect the smaller SSD to an available SATA port with power.
- ③ Secure the SSD in a drive bay if needed and close the case.
For Laptops:
- ① Use an external hard drive enclosure to treat the new SSD as an external drive and connect it to your laptop.
After cloning Windows OS, you can replace the old hard disk as following:
- ① Power down your laptop, disconnect it from the power source, and remove the battery (if applicable).
- ② Access the hard drive slot by removing the back panel (this varies by laptop model).
- ③ Remove the old drive, and connect the new smaller SSD securely in its place, ensuring it fits snugly.
Step 4: Launch Tatasoft Disk Clone and select "Disk Clone"
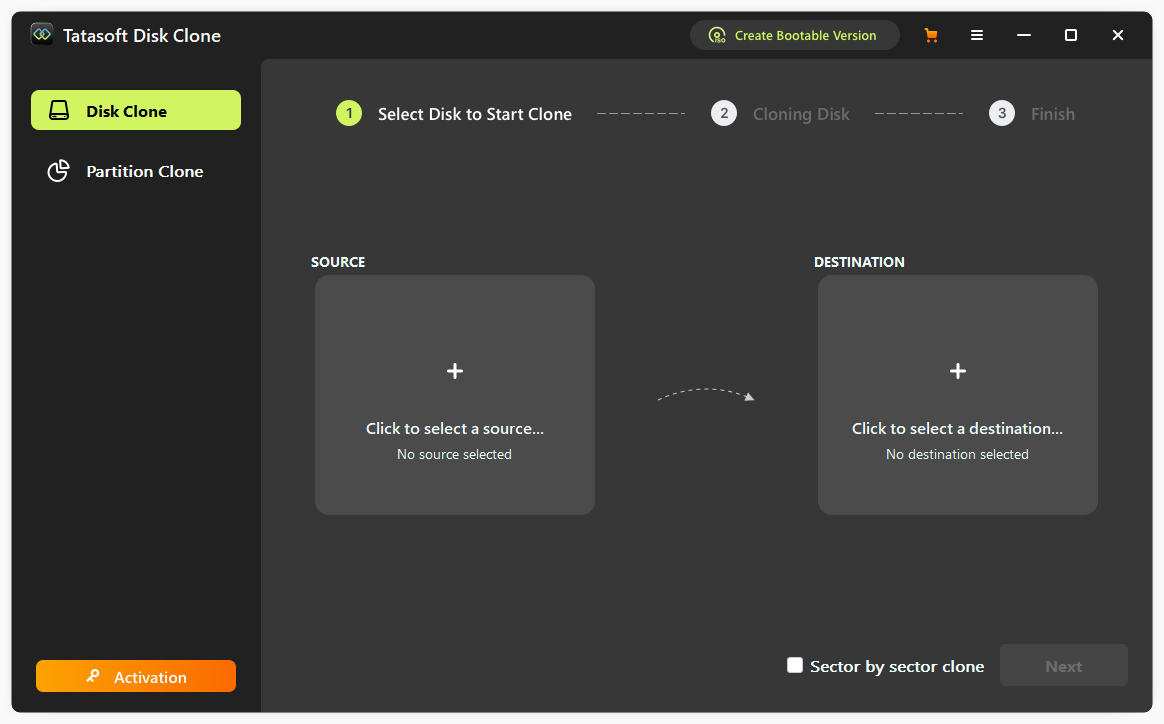
Step 5: Select source and target drives for cloning
- ① Source Drive: Select your current Windows 10 system drive.
- ② Target Drive: Choose the new smaller SSD as the destination drive.

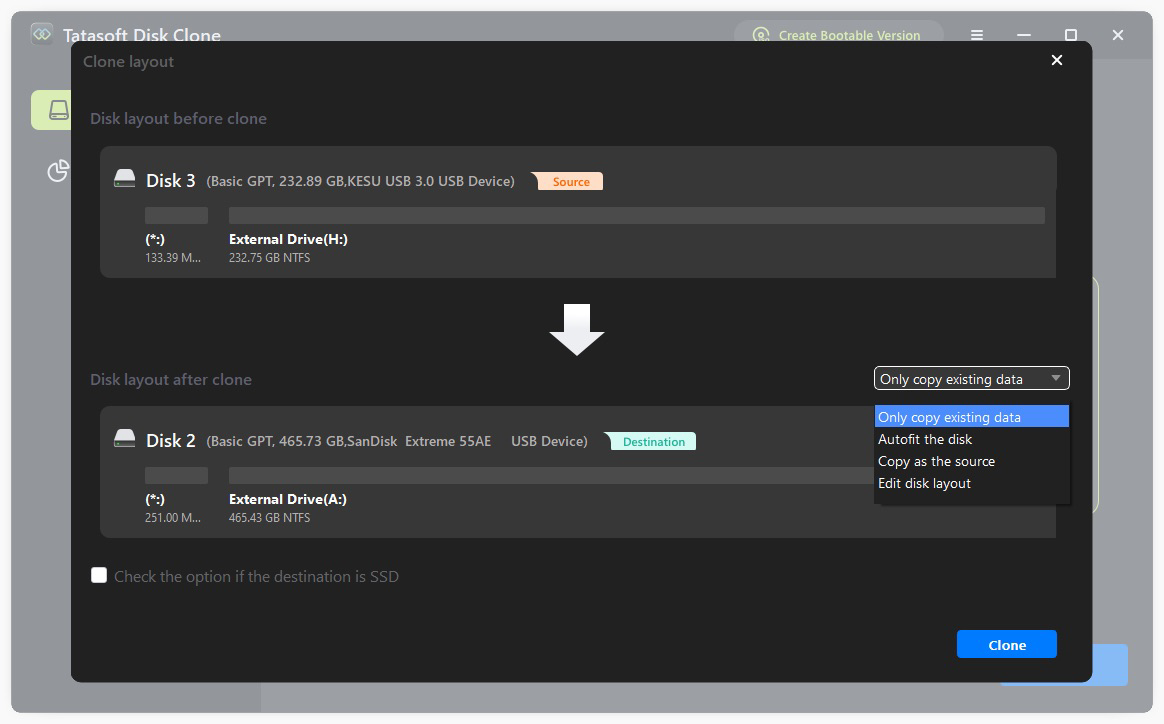
Step 6: Adjust disk cloning settings
Since you’re migrating to a smaller SSD, ensure you select the cloning options that allow you to fit the data onto the smaller drive:
- ① Smart Cloning Feature: This feature enables the software to perform intelligent file-level cloning, skipping unused disk space and ensuring all essential content fits onto your smaller SSD.
- ② Adjust Partition Sizes: If needed, you can resize partitions on the destination SSD during the cloning process to ensure all important data fits and maximize your disk space.
Step 7: Begin the Window 10 cloning process
Once you’ve verified your selections, initiate the cloning process:
- ① Click on the "Clone" button to begin.
- ② Monitor the cloning process; this may take some time based on how much data you have.

After the cloning process finishes, follow these steps to boot your Windows 10 from the cloned SSD, ensuring everything is set up correctly:
- ① Boot from the Smaller SSD: Restart your computer > enter the BIOS (usually by pressing F2, F12, or Delete during startup) > switch to Boot menu > Adjust the boot order using "+/-" buttons. Ensure that the smaller SSD is set as the primary boot device.
- ② Confirm Successful Boot: Allow the computer to boot up. If successful, Windows 10 should load from your new smaller SSD. Take a moment to verify that all applications and files are available and functioning.
Post-Migration Optimization for Windows 10
After migrating Windows 10 to a smaller SSD, you might want to optimize the drive for better performance:
- Run Windows Updates: Make sure that your new SSD and Windows OS are fully updated.
- Enable TRIM: Windows should automatically enable TRIM for SSDs, which helps in maintaining performance. To check if TRIM is enabled, Open Command Prompt and type the following command: "fsutil behavior query DisableDeleteNotify", If the result is '0', TRIM is enabled.
- Manage Storage Space: Regularly manage files and applications on the SSD to prevent it from becoming filled, as SSDs perform best with ample free space.
- Avoid Defragmentation: Defragmenting SSDs is unnecessary and can reduce drive lifespan. Windows typically avoids defragmenting SSDs automatically.
- Consider Over Provisioning: If the SSD allows for it, setting aside some spare space can improve performance and endurance, as it gives the SSD's controller more flexibility in managing data.
Troubleshooting Common Issues in Windows 10 SSD Migration
While migrating Windows 10 to a smaller SSD, you may encounter some common issues. Here are solutions to help you:
1. Clone Fails or Errors: If the cloning process fails, check to ensure that:
- Both drives are properly connected.
- The destination SSD has enough space to hold all the data on the Windows 10 disk.
2. New SSD Not Recognized: If the new SSD doesn't show up in the BIOS, ensure:
- All cables are securely connected.
- The SSD is compatible with your motherboard.
3. Boot Issues: If your computer does not boot from the new SSD after migration:
- Enter BIOS and adjust the boot priority to make the new SSD the first boot device.
- If you receive an error, you might need to repair the Windows bootloader.
4. Space Limitations: If the data won’t fit onto the smaller SSD, consider going through your files and uninstalling apps you no longer need, or moving non-essential files to an external drive.
Conclusion
In conclusion, migrating Windows 10 to a smaller SSD is a strategic move that can significantly enhance your computer's performance and efficiency. By following the outlined steps, you can ensure a smooth system migration while preserving your essential data. Utilizing tools like Tatasoft cloning software can further streamline this process, providing a reliable solution for transferring your Windows 11 or 10 effortlessly.
Experience faster load times and improved system responsiveness now. Visit Tatasoft to explore their cloning software to clone the boot disk and simplify your Windows OS migration. Make the most of your upgraded storage with modern SSD technology.
Related Articles
- Dec 17, 2025Don't Lose Your Data; Clone Drives with Bad Sectors Successfully
- Dec 17, 2025The Ultimate Guide to Cloning Your HDD to an NVMe SSD
- Dec 17, 2025How to Successfully Copy Ext4 Partitions on Windows? 3 Methods to Try
- Dec 17, 20253 Steps to Clone System to New Hard Drive
- Feb 12, 2026Step-by-Step Guide to Cloning a Hard Drive to a Smaller SSD
- Feb 04, 2026How to Clone C Drive to New SSD and Ensure a Bootable Result

A dedicated technical writer at Tatasoft with over four years of specialized expertise in computing technology. She crafts actionable, user-centric content for tech niches, specializing in disk cloning, data management, and video solutions for Windows and Mac.
Read full bio

This article has been approved by Ben Lee. Ben's dedication to excellence and his comprehensive knowledge of Windows and Mac technologies make him an essential part of any technical writing team. With a career marked by continuous learning and adaptation to new technologies, Ben remains at the forefront of the ever-evolving tech landscape.