Written byJanet BashorunUpdated on Feb 10, 2026
Expert Tips for Cloning Your Hard Drive for Free Using Command Prompt (CMD)
Approved byBen Lee
Brief introduction: Whether you're upgrading to a larger drive, needing a backup, or migrating to a new system, knowing how to clone your hard drive for free using the Windows Command Prompt (CMD) can be incredibly useful. This guide will walk you through the cloning process step-by-step, and offer an easy way to clone a hard drive without CMD, and provide tips for a successful disk cloning process.
In this article
Why Use Command Prompt for Cloning a Hard Drive?

Cloning a hard drive involves creating an exact replica of the entire drive, including the operating system, applications, settings, and all files, for three main uses: upgrading to larger drives, emergency backups, or system migration. Using the Command Prompt provides a more direct and flexible approach to cloning compared to graphical tools. Here are some benefits:
- Precision: Command Prompt commands allow for precise control over the cloning process.
- No additional software required: If you prefer not to use third-party applications, Command Prompt can handle the cloning process efficiently.
- Versatility: Command Prompt can be used in various Windows environments, making it a reliable choice.
- Free: CMD (Command Prompt) is a free built-in command-line interpreter in Windows.
Prerequisites for Cloning a Hard Drive Using CMD
Before you start the disk cloning process, ensure you have the following:
- A target drive: This is the drive where you will clone the data. Make sure it has enough space to accommodate the data from the source drive.
- Windows operating system: Ensure you are using a version of Windows that supports Command Prompt.
- Backup important data: Always back up critical data on the target disk before initiating the cloning process to avoid data loss.
- Clean up your hard drive: Delete unnecessary files to reduce the amount of cloned data and shorten the time required.
Steps to Clone Hard Drive with Command Prompt for Free
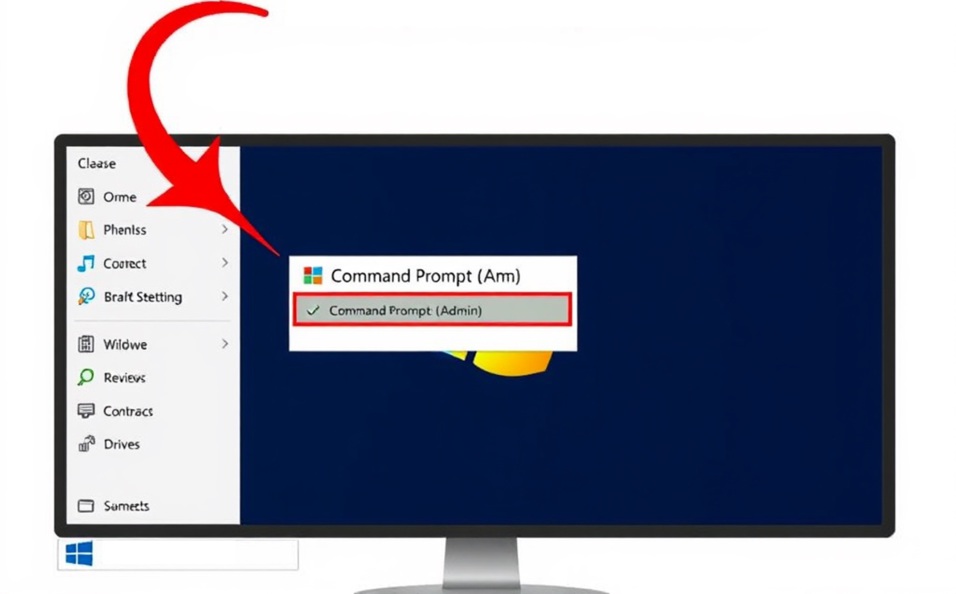
Step 1: Open Command Prompt as Administrator
- ① Press Windows + X and select Command Prompt (Admin) or Windows PowerShell (Admin).
- ② If prompted by User Account Control, click Yes.
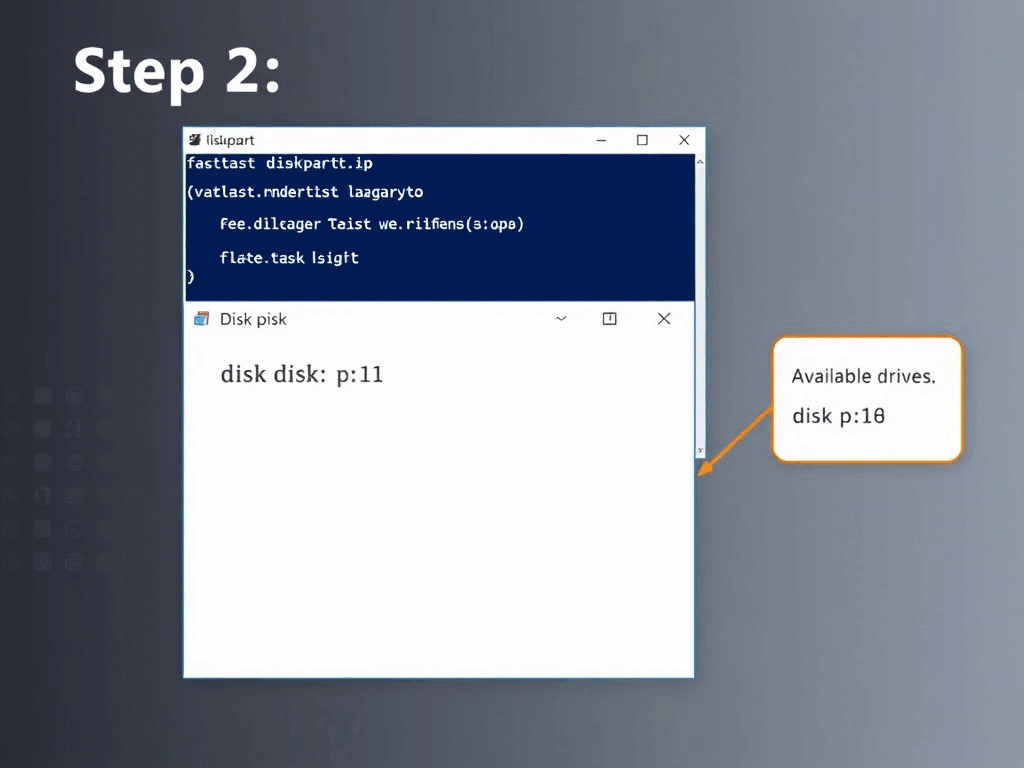
Step 2: Identify Your Drives
Before cloning, identify the source (the drive you want to clone) and the target drive (the drive where the clone will be created). Use the following command:
diskpart
Once in DiskPart, type:
list disk
This command will display all connected drives. Note the disk numbers of your source and target drives.
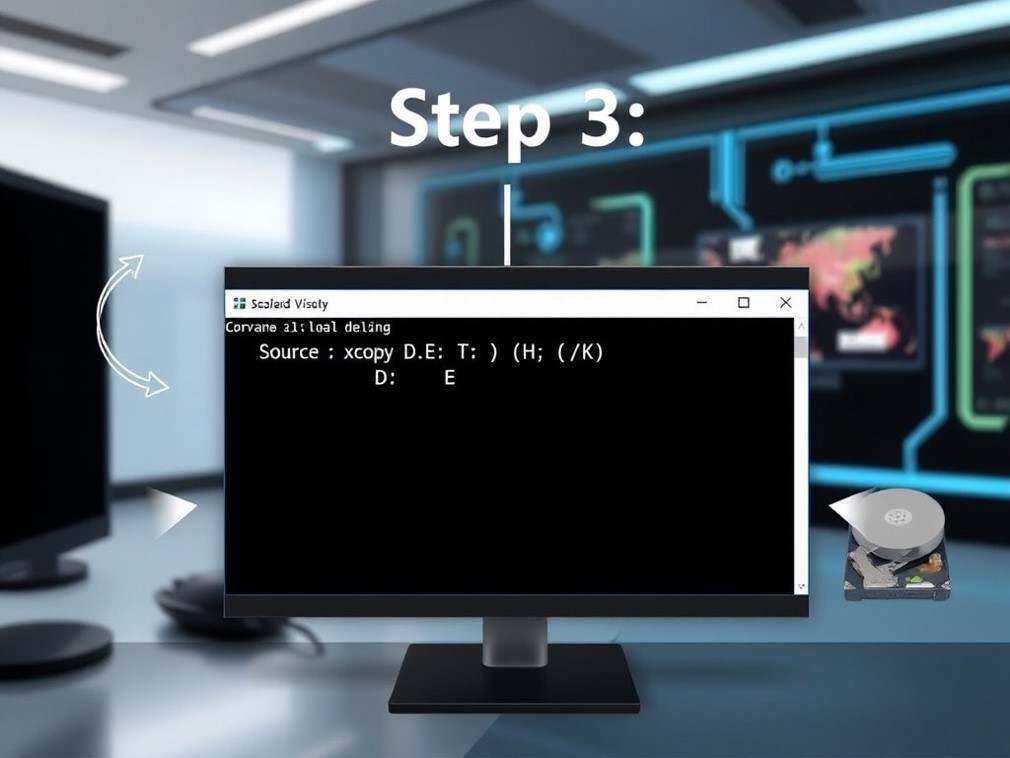
Step 3: Create a Disk Cloning Command
Next, you will create the command to clone the hard drive. The basic syntax looks like this:
xcopy source drive [target drive] /E /H /K
Replace 'source drive' and 'target drive' with the appropriate drive letters (e.g., 'xcopy D:\source E:\target').
Here are basic copy parameters to clone with CMD
/S
Copies non-empty directories and subdirectories (skips empty ones).
/E
Copies all subdirectories, including empty ones. Often combined with /S for complete replication.
/I
Assumes destination is a directory if it doesn't exist (avoids prompting for file/directory type).
/H
Copies hidden and system files (excluded by default).
/R
Overwrites read-only files at the destination (skipped by default).
/D[:MM-DD-YYYY]
Copies files modified on or after the specified date. Omitting the date copies source files newer than destination (ideal for incremental backups).
/A
Copies files with the archive attribute set (does not alter the attribute).
/M
Copies files with archive attribute set, then clears the attribute (used for backup marking).
/EXCLUDE:file1[+file2]...
Excludes files matching patterns listed in specified files (multiple patterns separated by +).
/T
Copies directory structure only (excludes files). Combine with /E to include empty directories.
/K
Preserves read-only attributes on copied files (removed by default).
/L
Lists files to be copied without executing the copy (preview mode).
/Q
Suppresses file names during copying (quiet mode).
/W
Prompts to press a key before starting the copy operation.
/Y
Suppresses confirmation prompts when overwriting existing files (silent mode).
/-Y
Prompts for confirmation before overwriting (default behavior).
/V
Verifies file integrity after copying (reduces speed but improves reliability).
/C
Continues copying even if errors occur (does not abort the operation).
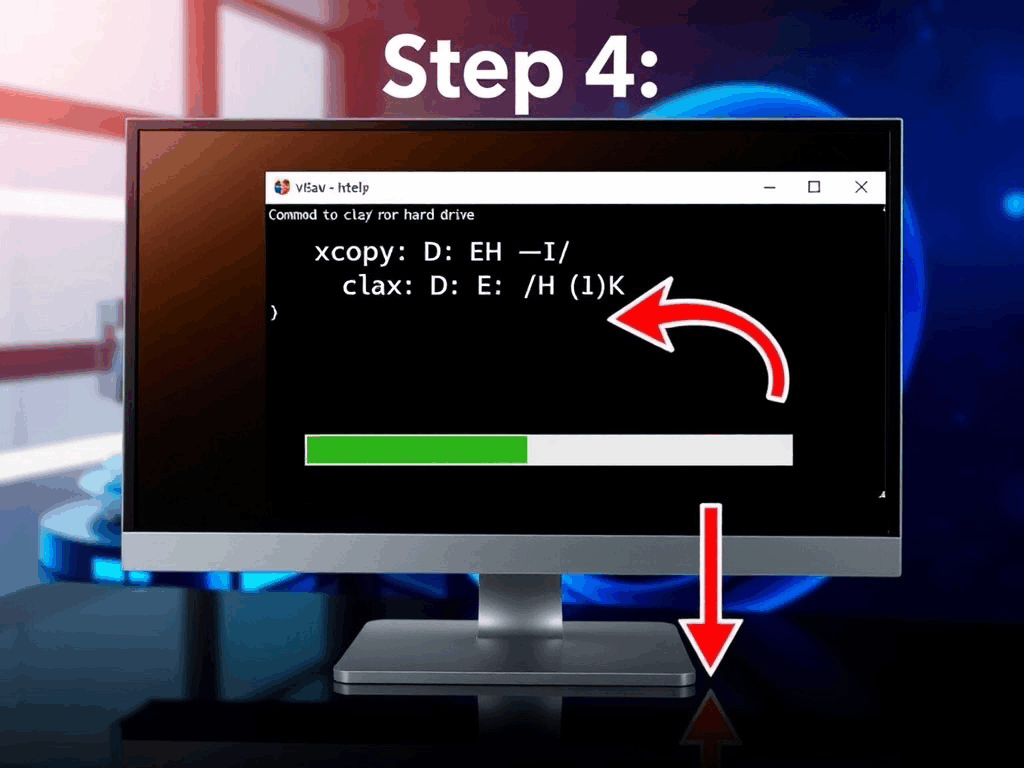
Step 4: Execute the Cloning Command with CMD
Once you have prepared your command, press Enter to execute it. The cloning process will start, and the time taken will depend on the amount of data being transferred.
Step 5: Verify the Clone
After the cloning process is complete, verify that the target drive contains all the necessary files and folders. Open the target drive in File Explorer and check for completeness.

💡 If you only need to migrate a specific volume instead of the whole disk, check out our guide on how to copy a partition to another drive using CMD for a software-free solution.
Expert Insight:
After cloning a hard drive with CMD, it's essential to verify data integrity. Check not only for the presence of files but also compare file sizes and modification dates. Tatasoft Disk Clone excels in this area, providing detailed reports that help identify any discrepancies. Always back up important data before cloning to safeguard against potential issues. These practices ensure a reliable and thorough cloning process.
How to Easily Clone a Hard Drive without Command Prompt
While Command Prompt is a powerful tool, cloning a disk via CMD is often tedious, error-prone for non-technical users, and lacks the flexibility to resize partitions during the process. Some users may prefer dedicated disk clone software for ease of use. Without using CMD commands, Tatasoft Disk Clone for Windows is verified and recommended to clone a hard disk or copy a specific partition with several advantages:
- User-friendly interface: Compared with CMD, Tatasoft Disk Clone provides a straightforward graphical interface that simplifies the cloning process.
- Advanced options: With Tatasoft, you have features like flexible resizing of partitions post-cloning for target disk, sector-by-sector cloning (which can skip bad sectors).
- Reliability: Tatasoft ensures data integrity during the cloning process, minimizing the risk of errors.
Steps to clone hard drive with Tatasoft Disk Clone:
- ① Select Disk Clone and choose the source and destination disk to clone
- ② Edit the disk layout on the destination disk on demand
- ③ Click Clone to start disk cloning

Tips for Successful Hard Drive Cloning with CMD
- Check Disk Health: Before cloning, use tools like 'chkdsk' to ensure your source drive is healthy.
- Close All Applications: Make sure to close all running applications to prevent data corruption during the cloning process.
- Use a Power Supply: For laptops, ensure the device is plugged in to avoid interruption due to low battery.
- Create a Recovery Drive: Having a recovery drive can be beneficial in case something goes wrong during the cloning process.
Conclusion
Cloning your hard drive using the Command Prompt is an effective method for data backup and migration. While it requires some technical knowledge, the process is straightforward. For those who prefer a more user-friendly approach, especially when you need to clone a hard disk in Windows 11 with full compatibility, Tatasoft disk cloning software offers an excellent alternative.
Always remember to back up important data before starting the cloning process to safeguard against potential data loss. With careful planning and execution, you can successfully clone your hard drive and ensure your data is secure.
Related Articles
- Jan 08, 2026Maximize Your HP Laptop's Potential by Upgrading to an SSD
- Dec 17, 2025How to Efficiently Clone Your NTFS Drive? 2 Methods
- Feb 12, 2026Step-by-Step Guide to Cloning a Hard Drive to a Smaller SSD
- Dec 17, 2025Step-by-Step Guide to Clone System HDD to SSD for Maximum Performance
- Jan 27, 20263 Methods to Effortlessly Clone Windows 10 to SSD
- Dec 17, 2025Complete Guide to Clone SSD to SSD Effortlessly

A dedicated technical writer at Tatasoft with over four years of specialized expertise in computing technology. She crafts actionable, user-centric content for tech niches, specializing in disk cloning, data management, and video solutions for Windows and Mac.
Read full bio

This article has been approved by Ben Lee. Ben's dedication to excellence and his comprehensive knowledge of Windows and Mac technologies make him an essential part of any technical writing team. With a career marked by continuous learning and adaptation to new technologies, Ben remains at the forefront of the ever-evolving tech landscape.