Written byJanet BashorunUpdated on Feb 11, 2026
Brief introduction:To clone GPT disk is a growing necessity for users today, especially as data storage needs evolve. The GUID Partition Table (GPT) format offers advanced capabilities beyond traditional partitioning methods, making it essential for modern computing. Whether you're transitioning to a new GPT hard drive, upgrading your system, or simply want a reliable backup, cloning your GPT disk is a crucial task. In this article, we will explore the benefits of cloning, the unique features of Tatasoft Disk Clone for Windows, and provide a step-by-step guide to make the cloning process as straightforward as possible.
In this article
Why Choose GPT for Your Disk?
Before delving into the cloning process, it's important to understand why GPT is a preferred option over MBR (Master Boot Record):
- Support for Large Drives: GPT can handle disks larger than 2TB, which is essential for today’s high-capacity storage solutions.
- Increased Partition Limits: With GPT, you can create up to 128 partitions (on Windows), providing flexibility for various storage needs.
- Improved Data Protection: GPT includes built-in redundancy; if a partition table becomes corrupted, backups are maintained, reducing the risk of data loss.
Benefits of Cloning Your GPT Disk
Cloning a GPT disk can have several key advantages:
- Effortless Disk Upgrades: Cloning GPT disk to an SSD or a new one allows you to migrate to a faster or larger disk without complex reinstallation processes.
- Streamlined Recovery: A cloned GPT disk acts as a fail-safe backup, ensuring you can quickly restore your system in case of failure.
- Efficient Testing and Experimentation: Cloning GPT disk enables you to test new configurations or software without risking your main system environment.
Expert Insight: Cloning a GPT disk ensures both system transfer and long-term management integrity. Disk Cloning Tools like Tatasoft Disk Clone provide an easy cloning process with built-in advanced protection features, using algorithms for data redundancy and file verification to reduce data loss risks. This reliability benefits individuals and businesses by simplifying complex data tasks while keeping critical information secure and accessible.
An Overview of GPT Disk Cloning Software
Tatasoft Disk Clone for Windows stands out as an efficient, intuitive GPT Disk Cloning tool specifically designed for cloning hard drives, including GPT disks for Windows 7/8/10/11. Here are some of its standout features:
- Ease of Use: The software is designed to be user-friendly, ensuring even those without technical expertise can clone their disks without hassle.
- Fast Cloning Speeds: It offers rapid disk cloning capabilities that help you save time during large transfers.
- Comprehensive Support: Tatasoft supports various file systems and ensures that all data, including system settings and applications, are cloned accurately. Fully compatible with cloning operations between GPT and MBR disks, supporting both GPT-to-GPT and MBR-to-GPT disk cloning.
Cloning Rules for GPT Disks
When cloning disks, it is crucial to adhere to specific rules to ensure successful operations. Here’s a breakdown of the rules applicable to GPT disks:
1. Source MBR to Target GPT:
When you clone a Master Boot Record (MBR) source disk to a target disk set as GPT, the target disk will retain its GPT format. This means it will not convert the target GPT to MBR; it will remain a GPT disk.
2. Source GPT to Target MBR:
If you clone a GPT disk to a target disk that is set to MBR, the target disk will be converted to the **GPT partition style**. This is an essential conversion to be aware of to avoid loss of partition information and functionality.
Step-by-Step Guide to Cloning GPT Disk
Here's how to clone a GPT disk effectively using Tatasoft Disk Clone for Windows:
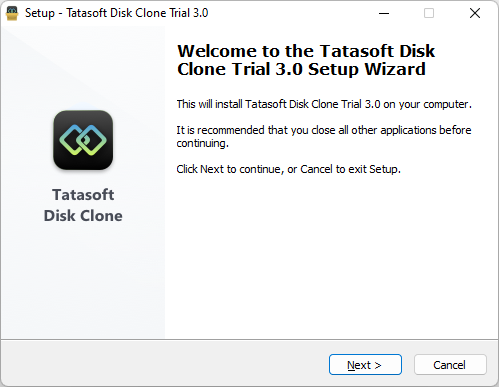
Step 1: Installing Tatasoft Disk Clone on your Windows PC
- Installation: Download the GPT disk cloning software and follow the installation prompts to install it on your system.
Step 2: Set up your cloning environment
- ① Connect Your Drives: Make sure both the source GPT disk and the target disk are connected to your computer.
- ② Launch the Software: Open Tatasoft GPT disk cloning software to begin the cloning process.
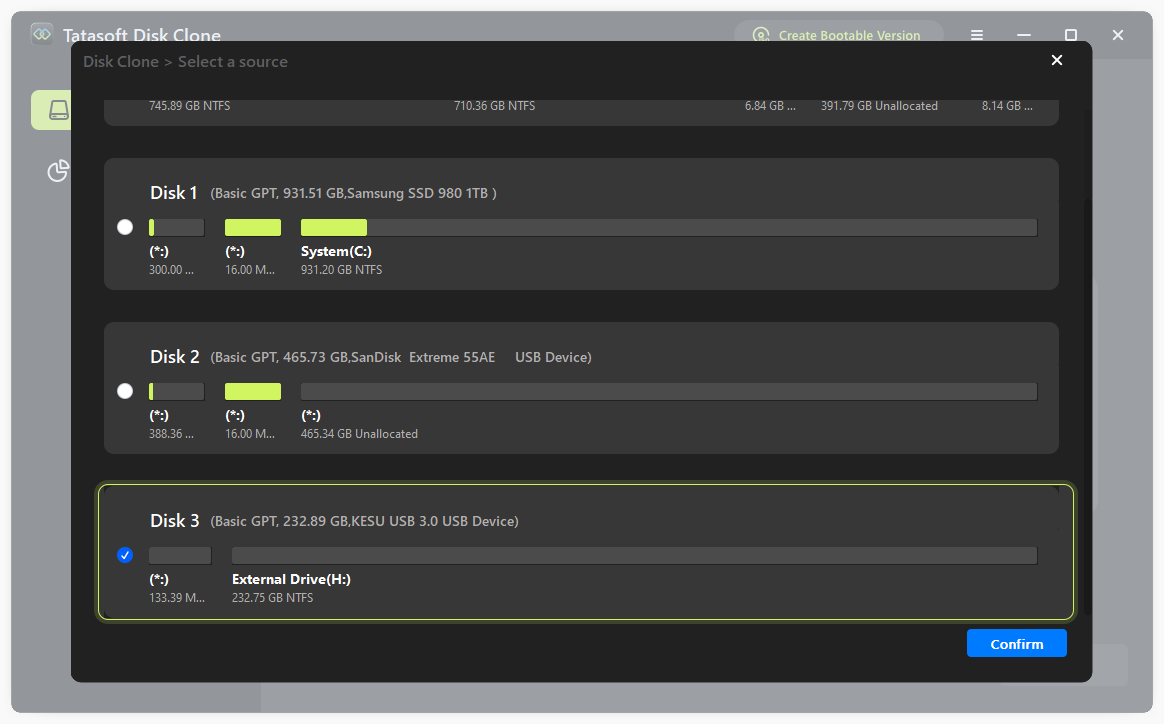
Step 3: Initiate the GPT disk cloning process
- ① Select the Cloning Functionality: Look for the "Disk Clone" option in the software's interface and select it.
- ② Choose the Source GPT Disk: Identify and select the GPT disk you want to clone from the list presented.
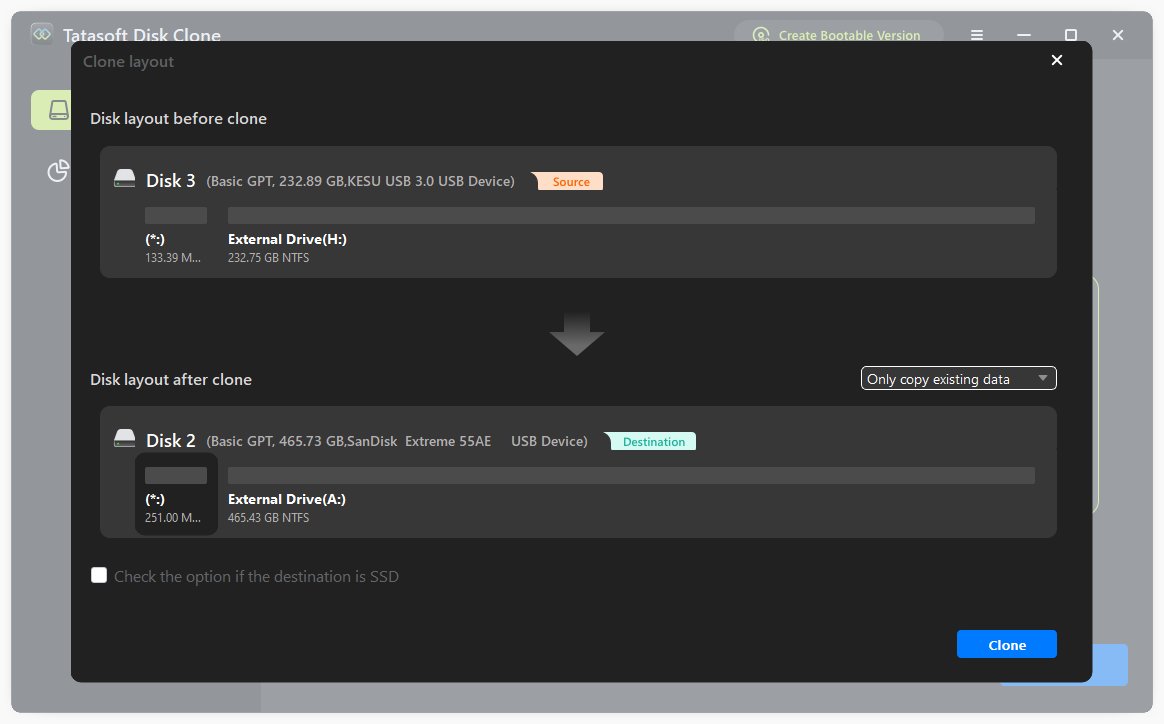
Step 4: Configure the destination disk
- ① Select Target Drive: From the list, pick the target disk where the cloned data will be stored. Ensure it has sufficient space.
- ② Verify Disk Details: Cross-check the target disk’s specifications to avoid accidentally overwriting important data.

Step 5: Configure GPT disk cloning options
- ① Click the "Next" button to begin copying the GPT disk.
- ② Adjust the partition layout on the destination disk.
Step 6: Start to copy the GPT disk
- ① Adjust Settings: Review the selections and any additional optional settings related to cloning.
- ② Start the Cloning Process: Click the "Clone" button to initiate the cloning operation.

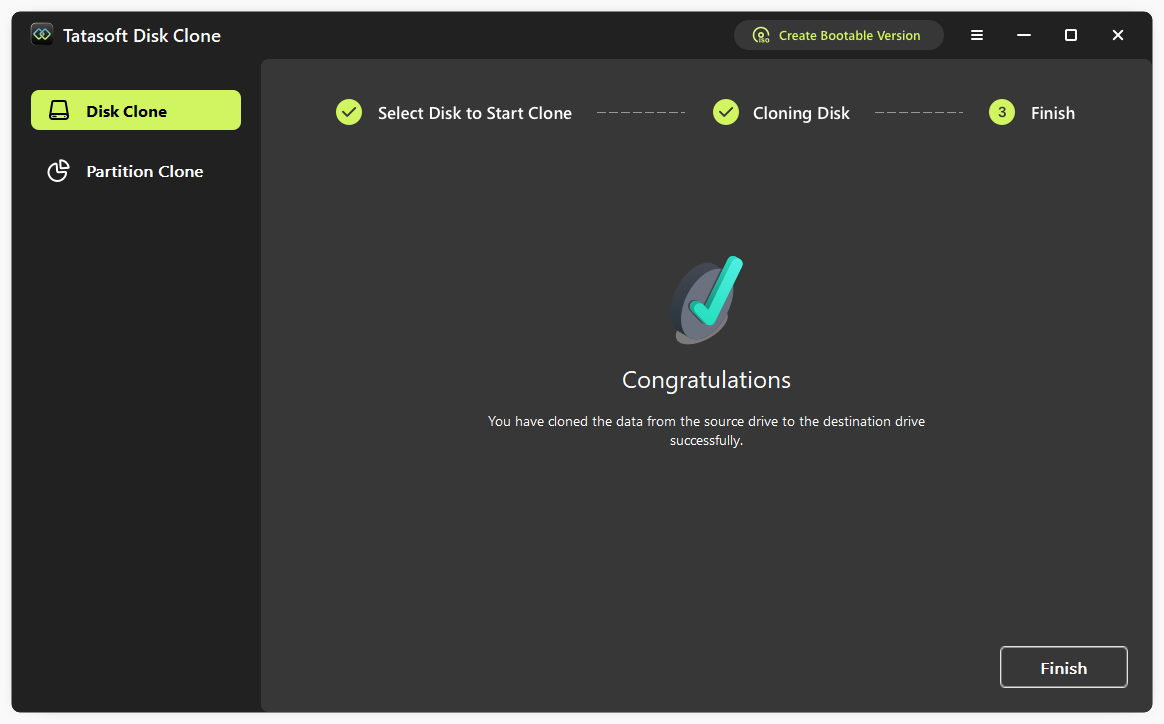
Step 7: Complete copying of GPT disk
- ① Wait for Cloning to Complete: The software will indicate the cloning progress. The duration will vary depending on the disk size and speed.
- ② Verify Data Integrity: Once the process is complete, it's crucial to run a verification check to ensure that all data has been accurately cloned. Tatasoft will provide an option to verify the integrity of the cloned disk, ensuring that your data is intact and reliable.
- ③ Eject the Drives: If you take the new drive just as a backup, after cloning and verification, safely eject the target drives from your computer. This will help prevent data corruption during removal
- ④ Reboot (if necessary): If the cloned disk is intended to be the new primary drive, you may need to reboot your computer and adjust the BIOS settings to boot from the new drive.
Common Questions About Cloning GPT Disks
Cloning from a GPT disk to an MBR disk is possible, but you may lose some partition functionality and after cloning, the destination disk will be changed into GPT. It's typically recommended to clone from GPT to GPT for optimal performance.
Cloning larger GPT disks to smaller drives is only feasible if the data on the source disk can fit into the target disk's available space. Always verify the target disk’s capacity before starting the cloning process.
Absolutely! Tatasoft is designed with user data safety in mind. With integrity checks and a clear interface, users can clone their disks confidently.
Best Practices for Cloning GPT Disks
- ① Backup Important Data on the destination disk: Before starting the GPT disk cloning process, ensure that all critical files on target disk are backed up separately to prevent data loss.
- ② Check Hardware Compatibility: Make sure all connected drives are compatible with both your system and the cloning software.
- ③ Regular backup: For critical data management, consider regularly clones of your GPT disks to maintain up-to-date backups.
Conclusion
Cloning GPT disks has become an essential practice for anyone in the digital age, especially for users needing reliable system migration and management options. With Tatasoft Disk Clone, you can efficiently clone your GPT disk while ensuring that your data remains secure throughout the process. Its user-friendly interface and robust features make it an ideal tool for both novices and seasoned users.
Related Articles
- Feb 10, 2026A Simple Guide to Clone Your Windows OS to an External Hard Drive
- Dec 17, 2025Your Go-To Alternative to Clonezilla for Disk Cloning
- Jan 13, 2026A Simple Guide to Clone Bootable USB to Another Drive
- Dec 17, 2025How to Efficiently Clone Your NTFS Drive? 2 Methods
- Jan 15, 2026How to Migrating Windows 10 to Smaller SSD?
- Feb 10, 2026How to Clone Windows 11 to a New SSD without reinstalling?

A dedicated technical writer at Tatasoft with over four years of specialized expertise in computing technology. She crafts actionable, user-centric content for tech niches, specializing in disk cloning, data management, and video solutions for Windows and Mac.
Read full bio

This article has been approved by Ben Lee. Ben's dedication to excellence and his comprehensive knowledge of Windows and Mac technologies make him an essential part of any technical writing team. With a career marked by continuous learning and adaptation to new technologies, Ben remains at the forefront of the ever-evolving tech landscape.