Written byJanet BashorunUpdated on Feb 20, 2026
4 Methods to Clone an External Hard Drive to Another on Mac
Approved byBen Lee
Brief introduction: Cloning an external hard drive to another on Mac is crucial for backing up sensitive data, upgrading to a larger drive, or transferring files. Whether you’re a novice or experienced Mac user, this guide will provide you with 4 reliable free & paid methods to clone external hard drive efficiently. Learn step-by-step instructions for tools like Tatasoft Disk Clone for Mac and Apple’s built-in Disk Utility to find the best data migration solution for your needs.
In this article
Why Clone an External Hard Drive on Mac?
Cloning an external hard drive on your Mac is a smart way to ensure your data is backed up and easily accessible. It offers several benefits:
- Data Protection: Prevents data loss by creating an exact copy of your files on external hard drive.
- Data Migration: Facilitates the transfer to a new drive or machine without re-downloading or reorganized files.
- Storage Upgrade: Allows for a seamless transition from a smaller drive to a larger one without losing data.
- Quick Recovery: If your original external drive crashes or gets corrupted, a clone lets you resume work immediately.
Four Methods to Clone an External Hard Drive on Mac
We’ve tested various methods to clone one external hard drive to another on macOS 26 Tahoe and macOS 15 Sequoia, with four standing out as the most reliable for successful migration. Additionally, these steps are also applicable to cloning Mac internal hard disks to USB external drives - including the creation of a bootable Mac backup.
- Method 1: Clone an external hard drive with Tatasoft Disk Clone for Mac
- Method 2: Clone Mac external drive with Disk Utility (Built-in, Free)
- Method 3: Clone external drive via Terminal (No GUI, Free)
- Method 4: Cloning with Carbon Copy Cloner
Method 1: Clone an external hard drive with Tatasoft Disk Clone for Mac
Tatasoft Disk Clone for Mac is a robust Mac disk cloning software which simplifies the cloning process with an intuitive interface, making it suitable for users of all skill levels.
Step-by-Step Guide to clone external hard drives on Mac with Tatasoft:
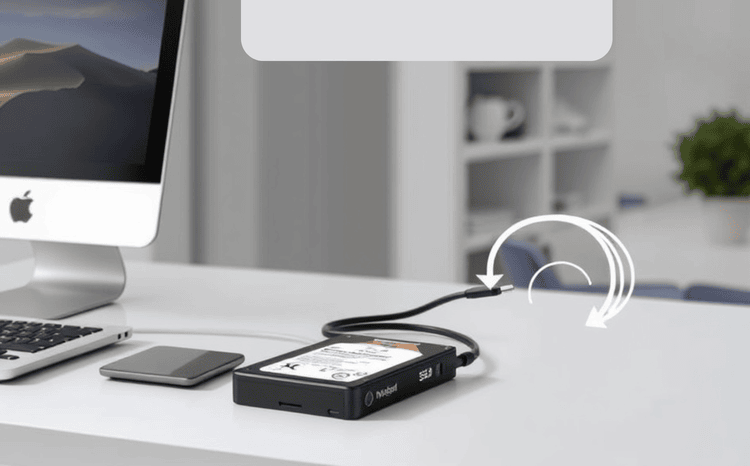
1. Connect Both External Hard Drives
- Use USB connections to plug in both the source (the external hard drive you want to clone) and the target drive (the new drive) to your Mac.
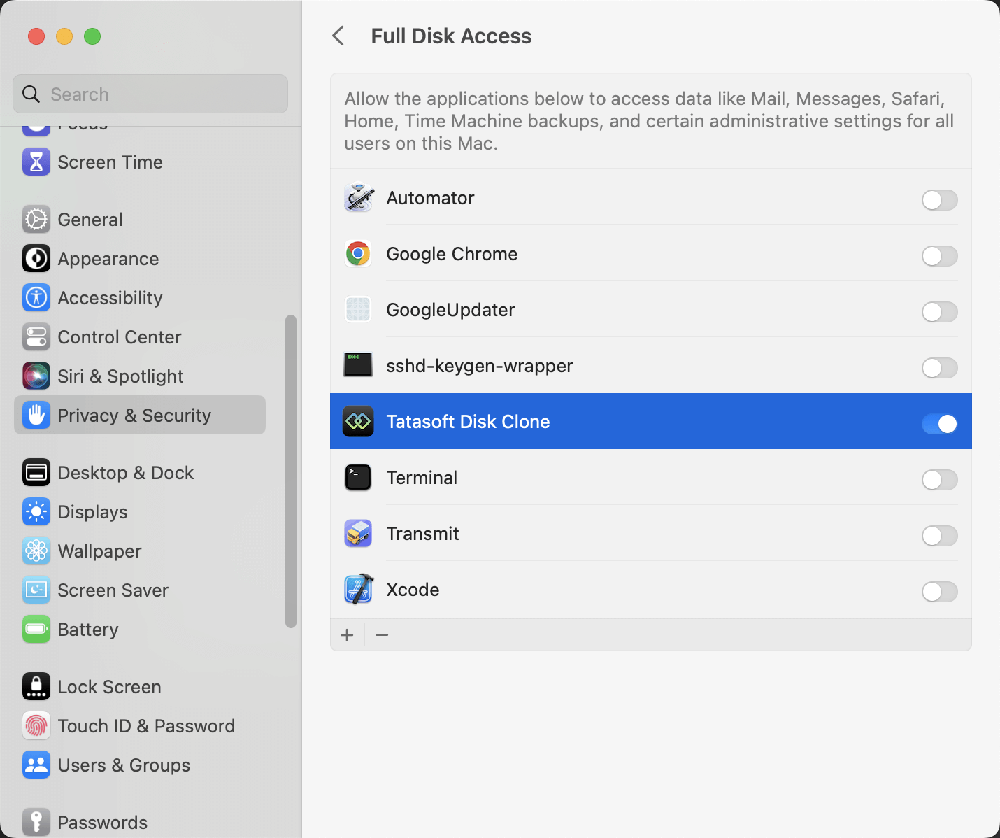
2. Launch Tatasoft Disk Clone for Mac
When first opening the software, grant it Full Disk Access in Privacy & Security.
3. Select Disk Copy and choose the Source and Target drives for cloning:
- On the main interface, select the source drive by clicking the + button below the SOURCE section. You can also choose to copy either all files on the source external hard drive or only specific files and folders.
- Next, choose the target external drive where the data will be cloned.

4. Confirm to start the cloning process:
Click the Copy Now button in the pop-up window. The software will start migrating data immediately, and a progress bar will display the status of the cloning process.

Once the process is complete, it’s advisable to verify the data on the target drive to ensure everything was cloned successfully.
Tips: If you are cloning a bootable external hard drive, it is recommended not to clone the drive directly to the new hard drive. Instead, use the Tatasoft Disk Clone’s OS Clone feature to re-clone macOS to the new external hard drive. This method better ensures that your data is the latest and most complete.
Benefits of Using Tatasoft
- User-Friendly Interface: Designed for ease of use, making it accessible for beginners.
- Fast Cloning: Capable of cloning large drives quickly without compromising data integrity.
- Comprehensive Cloning Options: The ability to make a bootable backup of Mac and ensures the cloned external hard disk bootable. It supports to copy the latest macOS 26 and M5 Macs.
Method 2: Clone Mac external drive with Disk Utility
Disk Utility is a built-in and free macOS application that allows users to manage disks and perform various operations, including cloning.
Step-by-Step Guide to clone an external hard drive with Disk Utility
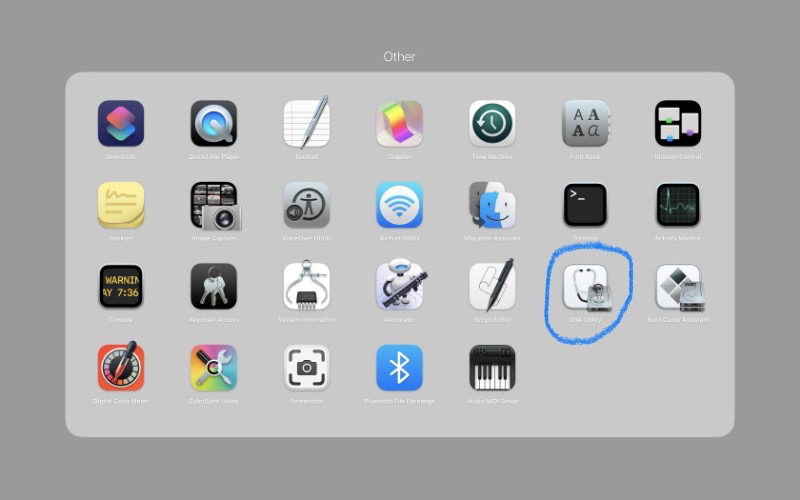
1. Open Disk Utility:
- Navigate to Applications > Utilities > Disk Utility.
2. Connect Your Drives:
- Ensure that both your source and target external hard drives are connected to your Mac.
3. Select the Source Drive:
- In Disk Utility, select the external hard drive you wish to clone from the sidebar.
4. Choose the Restore Option:
- Click the Restore button at the top of Disk Utility or click on the Edit > Restore.
5. Choose the Source and Destination Drive for cloning:
- In the pop-up window, select the external hard drive you want to clone as Source.
- Set another external hard drive as Destination
6. Start the Restoration Process:
- Click Restore and enter your administrator password if prompted to begin the cloning process. This will overwrite the data on the target drive.
Pros![]()
- No additional software required built-in and free.
- Suitable for basic cloning tasks.
Cons![]()
- Limited features compared to dedicated software like Tatasoft.
- Users have provided feedback indicating that the normal boot of the system from the cloned disk cannot be ensured following the cloning process.
- May require more technical knowledge for advanced options.
Method 3: Clone external drive via Terminal
For advanced users, the 'rsync' command-line tool provides a powerful way to clone drives using Terminal. This method is ideal for users comfortable with command-line operations.
Step-by-Step Guide
1. Open Terminal:
- Navigate to Applications > Utilities > Terminal.
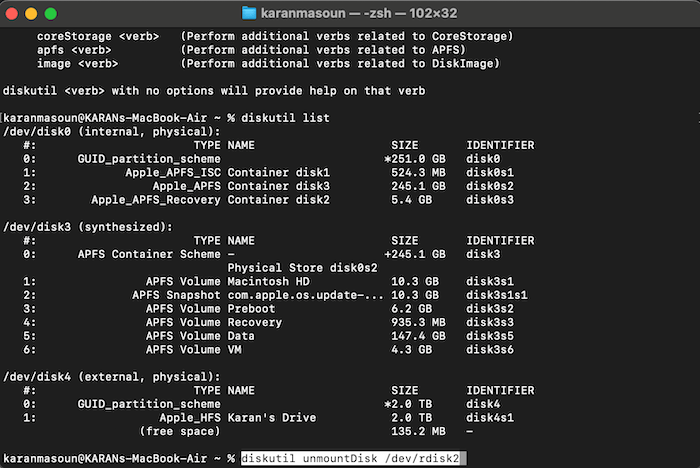
2. Identify Drives:
- Use the command 'diskutil list' to identify the drive identifiers (e.g., /dev/disk2).
Unmount the Target Drive:
```bash
diskutil unmountDisk /dev/diskX
```
Replace 'diskX' with the identifier of your target drive.
4. Run the rsync Command:
```bash
rsync -avh --progress /Volumes/SourceDrive/ /Volumes/TargetDrive/
```
Replace 'SourceDrive' and 'TargetDrive' with the names of your drives.
5. Once the process is complete, you will see a summary of files transferred. Safely eject both drives.
Pros:![]()
- Free
- Highly configurable and powerful for advanced users.
- Efficient in transferring only modified files with incremental backups.
Cons:![]()
- Requires familiarity with command-line operations.
- No graphical interface, which may be intimidating for some users.
Method 4 : Cloning with Carbon Copy Cloner
Carbon Copy Cloner (CCC) is a widely popular third-party backup and cloning application, boasting robust advanced cloning capabilities that make it an ideal choice for users who require greater control over the cloning process. It offers a 30-day free trial, and the full version is priced at a one-time fee of $49.99.
Step-by-Step Guide to clone hard drive with CCC
1. Download and Install CCC
2. Connect Your External Drives to Mac:
- Connect both the source and target external hard drives to your Mac.
3. Open CCC:
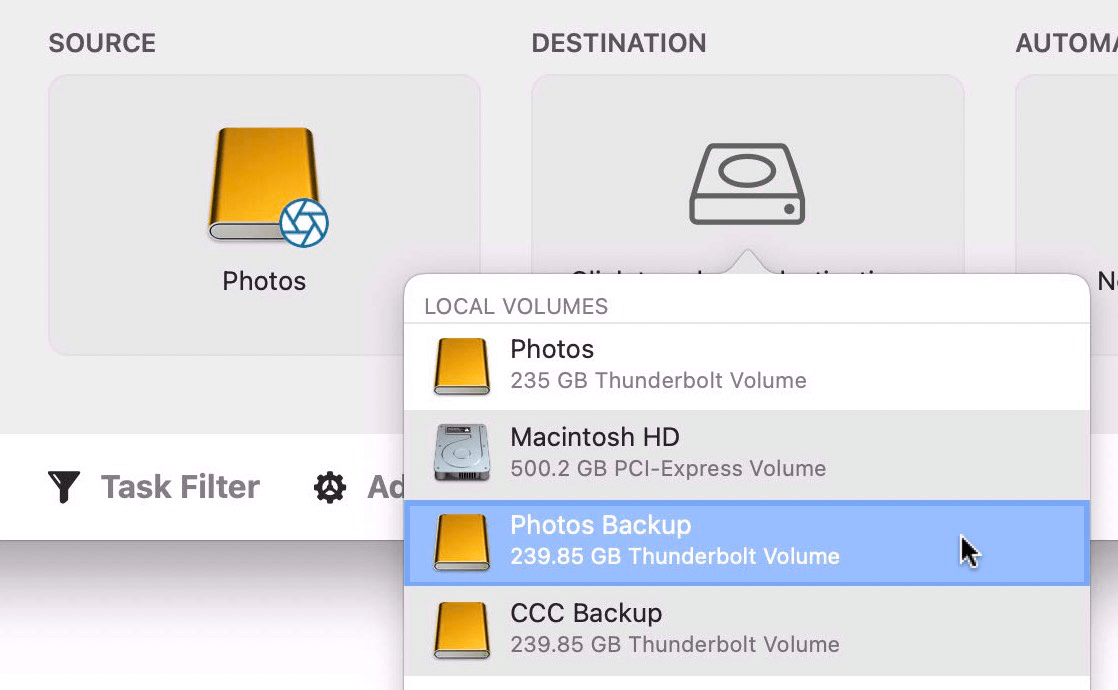
- Launch Carbon Copy Cloner. The interface will show options for selecting source and destination drives.
4. Select Source and Destination:
- Drag your source external drive into the source field.
- Drag your target drive into the destination field.
5. Configure Cloning Options:
- You can choose to include or exclude specific files and folders based on your needs.
- CCC also allows you to set up schedules for regular backups.
6. Start the Cloning Process:
- Click on the Clone button to initiate the cloning process.
- Monitor the progress through the status window.
Benefits of Carbon Copy Cloner
- Incremental Backups: Only copies changes made since the last backup, saving time and space.
- Scheduling Options: Allows for automatic backups on a set schedule.
- Detailed Reporting: Provides logs and notifications for completed tasks.
Best Practices for Cloning a Mac External Hard Drive
- Backup Important Files: Always back up crucial data on the destination drive which will be erased before starting the cloning process.
- Ensure Sufficient Space: Make sure the target drive has enough space to accommodate the data from the source drive.
- Stable Connection: Use USB 3.0, Thunderbolt, or USB-C cables to avoid transfer errors (Wi-Fi is not recommended for cloning). As for speed, the hierarchy is clear: Thunderbolt > USB 3.0 > USB 2.0.
- Avoid Interruptions: Don’t disconnect the drives or put your Mac to sleep during cloning—this can corrupt the clone.
- Power Supply Stability: Ensure both drives are connected to a stable power source to prevent interruptions.
Conclusion
Cloning an external hard drive to another on Mac is key to efficient data management, backup, and recovery. There are plenty of methods to choose from, ranging from cloning with the free built-in Disk Utility to advanced tools like Tatasoft Disk Clone for Mac. This tool has a unique edge: it excels at cloning macOS to an external hard drive and creating a fully bootable clone. What’s more, it captures every single file, down to the smallest ones, to deliver a complete backup and enable seamless data migration.
When selecting the optimal solution for your Mac cloning requirements, keep in mind that each method offers unique strengths. Among these options, Tatasoft Disk Clone stands out thanks to its intuitive user interface and robust cloning features, making it an ideal choice for both novice users and seasoned professionals alike.
Related Articles
- Jan 27, 2026The Effective Solution for Cloning NTFS Drives on Mac
- Feb 18, 2026How to Create a Bootable Backup of macOS Sequoia in 3 Ways?
- Feb 17, 2026Top 5 Mac Disk Clone Software
- Jan 21, 2026The Ultimate Guide to Clone Mac HDD to SSD
- Jan 23, 2026How to Clone macOS 26 Tahoe to an External Hard Drive and Make it Bootable
- Feb 13, 2026Easily Clone Your Mac Hard Drive to an External SSD

A dedicated technical writer at Tatasoft with over four years of specialized expertise in computing technology. She crafts actionable, user-centric content for tech niches, specializing in disk cloning, data management, and video solutions for Windows and Mac.
Read full bio

This article has been approved by Ben Lee. Ben's dedication to excellence and his comprehensive knowledge of Windows and Mac technologies make him an essential part of any technical writing team. With a career marked by continuous learning and adaptation to new technologies, Ben remains at the forefront of the ever-evolving tech landscape.