Written byJanet BashorunUpdated on Jan 21, 2026
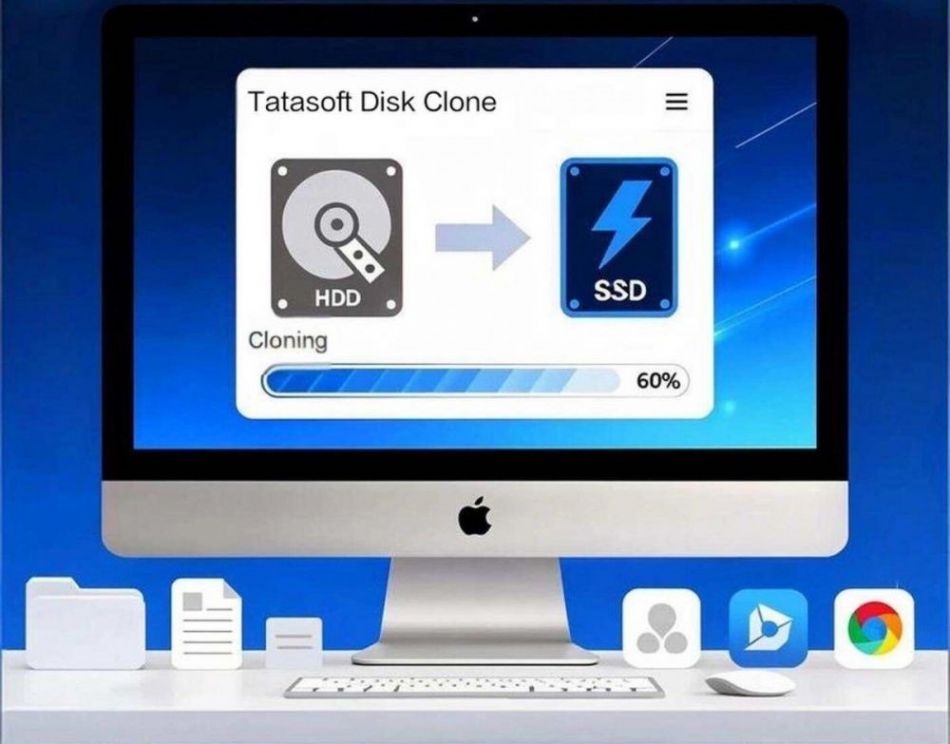
Brief introduction: Upgrading from a traditional Hard Disk Drive (HDD) to a Solid State Drive (SSD) is the single most effective way to breathe new life into your machine. By cloning Mac HDD to SSD, you can migrate your entire macOS, applications, and files without the hassle of a clean reinstall. This guide will walk you through the process of cloning your Mac HDD to SSD using Tatasoft Disk Clone for Mac, a professional-grade tool designed for seamless disk replication.
In this article
Benefits of Cloning Mac HDD to SSD
1. Improved Speed and Performance
One of the primary benefits of cloning your Mac HDD to SSD is the dramatic increase in speed. SSDs have faster read and write speeds compared to traditional HDDs, leading to reduce boot times from minutes to seconds and enjoy near-instant application launches.
2. Enhanced Data Security
SSDs are more reliable than HDDs due to their lack of moving parts, reducing the risk of mechanical failure. Cloning to an SSD improves the reliability of data storage, making it a safer choice for important files, especially for users on the move.
3. Extended Battery Life
SSDs consume significantly less power, allowing MacBook users to work longer on a single charge.
4. Noise Reduction
SSDs operate silently, as they have no moving parts. This eliminates the whirring and clicking sounds of a spinning platter for a completely quiet workspace.
Preparing for Cloning Mac HDD to SSD
To ensure a successful clone, follow these preparation steps:
1. Choose the Right SSD
Choose a drive with a capacity equal to or larger than your current HDD. Ensure it matches your Mac’s interface (SATA or NVMe).
2. Backing Up Your Data
Always back up important files on the destination drive which will be erased during the cloning process. Use Time Machine or an external hard drive to create a full backup.
3. Check Connections
Use a high-quality USB-to-SATA adapter or external enclosure to connect your new SSD to your Mac.
4. Downloading Mac Disk Clone Software
Tatasoft Disk Clone for Mac is a user-friendly application designed for seamless cloning. Download and install Tatasoft on your Mac from the official website to prepare for the cloning process.
2 Methods for Cloning Mac HDD to SSD
Method 1: Clone Mac HDD Tatasoft Disk Clone for Mac (Recommended)
For most Mac users, a dedicated Mac disk clone software is the safest and most efficient choice.
Step 1: Plug your new SSD into your Mac via USB.
Step 2: Launch Tatasoft Disk Clone and select the OS Clone (system and data) or Disk Clone (data only) option.
Step 3: Choose your internal HDD as the Source and the new SSD as the Destination. OS Clone automatically selects the startup disk as the source.

Step 4: Click "Clone Now" and confirm. The process typically takes 30 minutes to 2 hours depending on data volume.
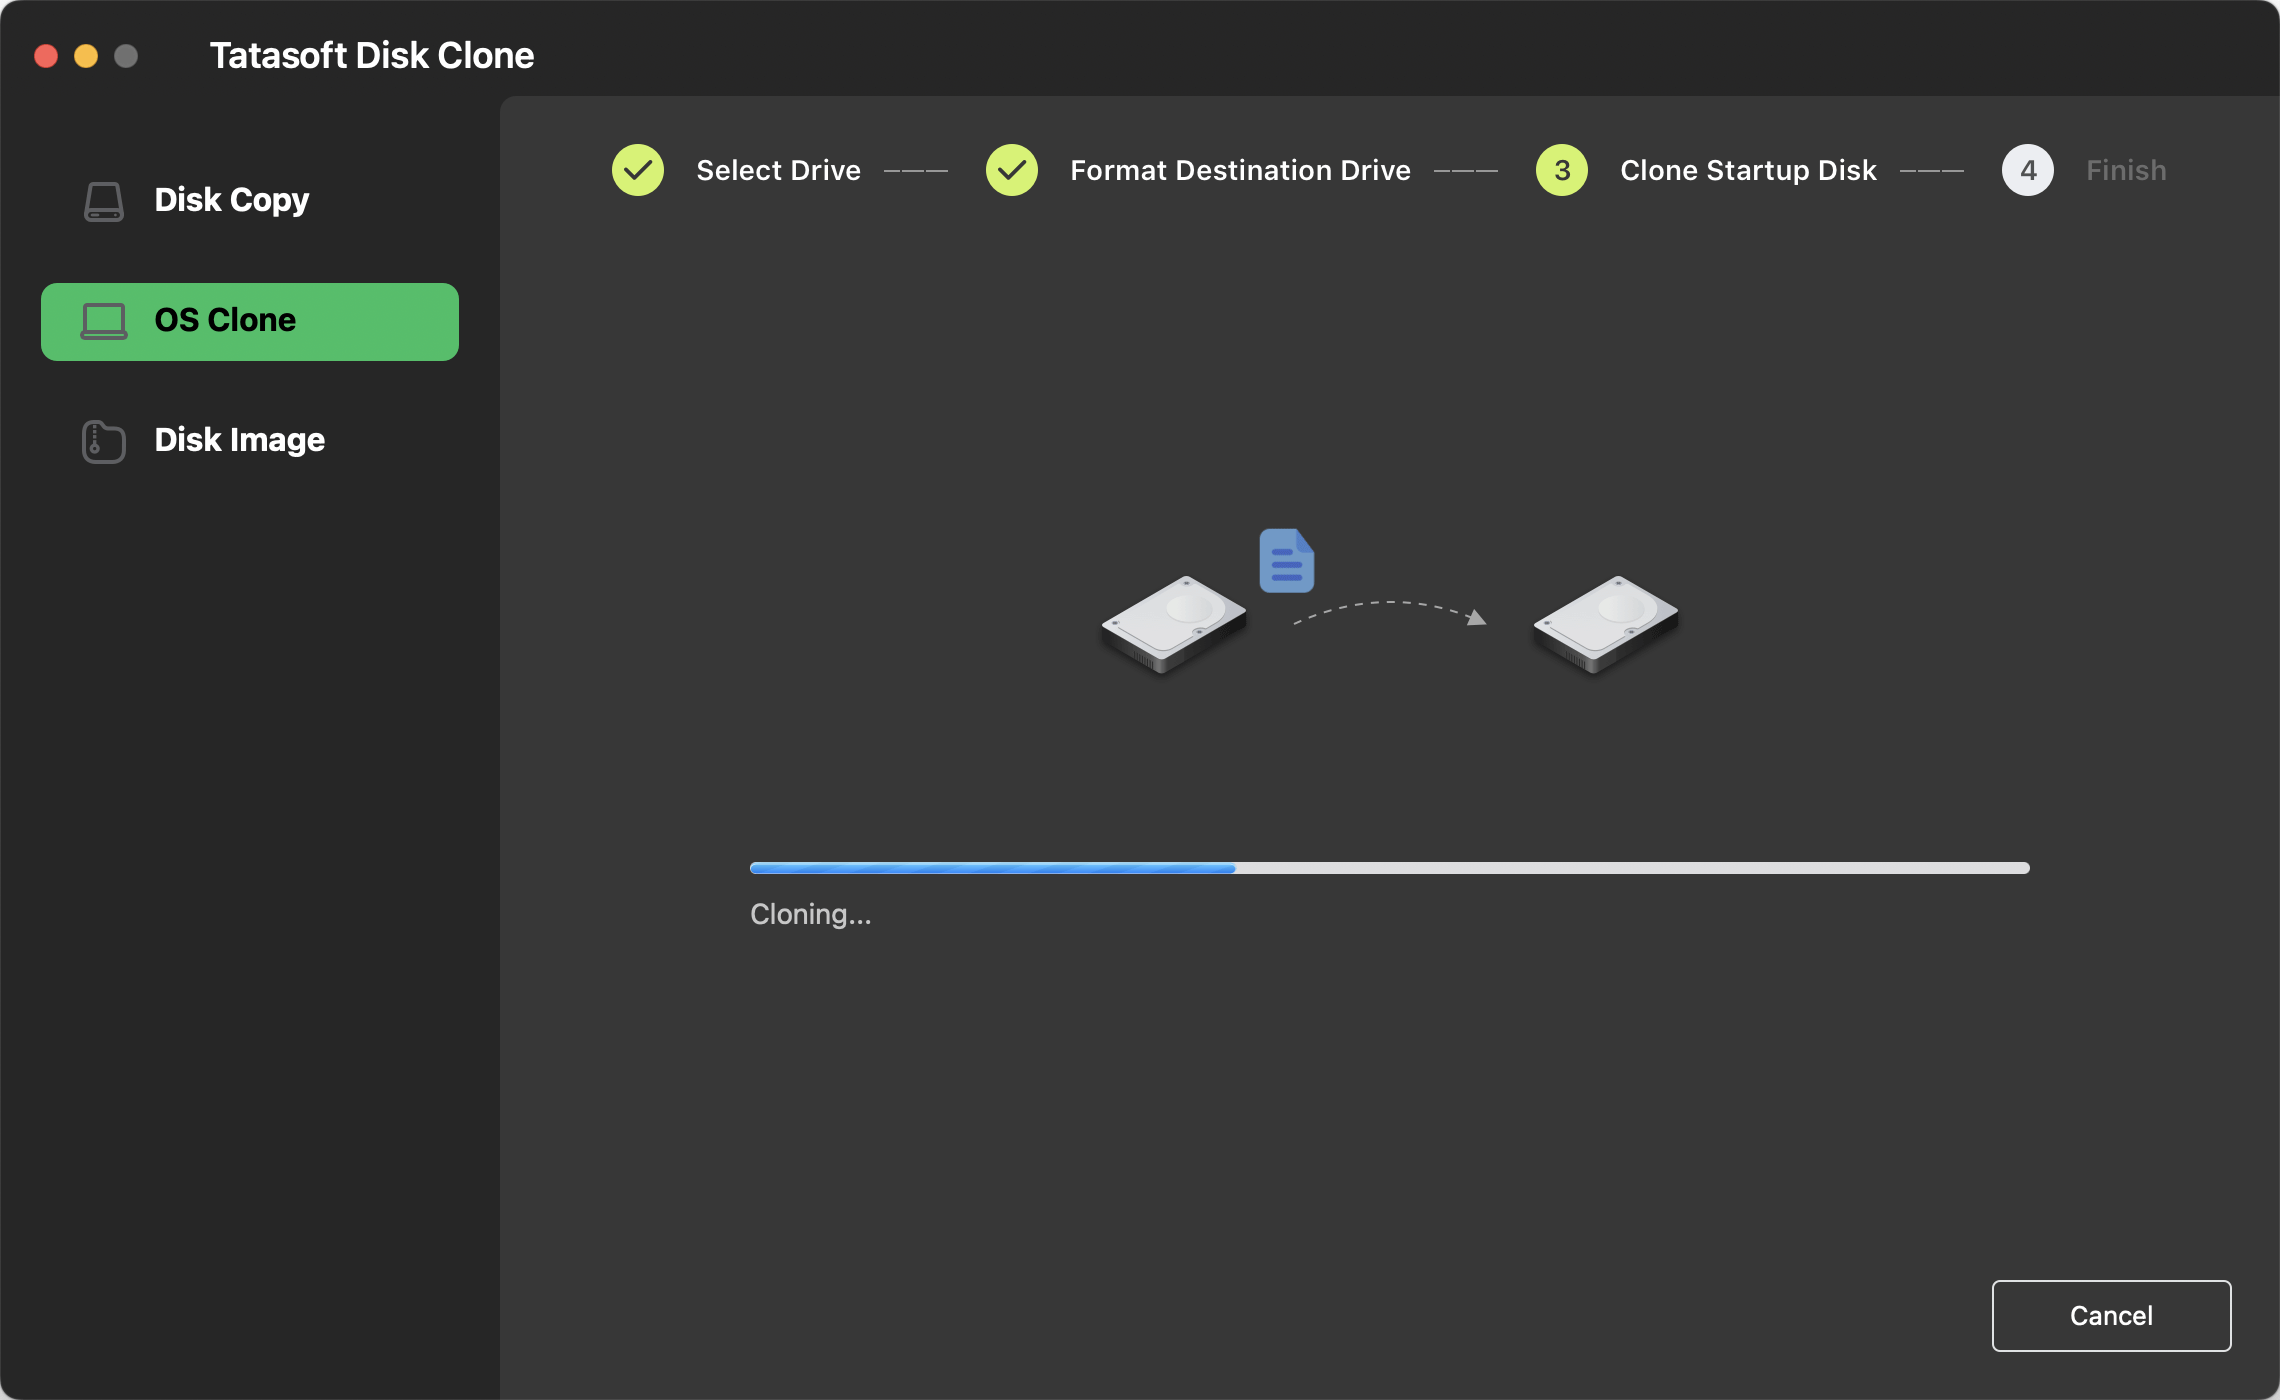
Once finished, the software will confirm the success of the operation.
Pros![]()
- Intuitive Interface: Extremely user-friendly and easy to navigate.
- High Success Rate: Reliable macOS drive cloning with guaranteed bootability.
- Data Integrity: Sector-by-sector (bit-by-bit) cloning ensures 100% accuracy.
Cons![]()
- Desktop-Based: Requires local software installation.
Method 2: Using macOS Disk Utility (Free)
If you prefer built-in tools, you can clone a Mac hard drive using Disk Utility.
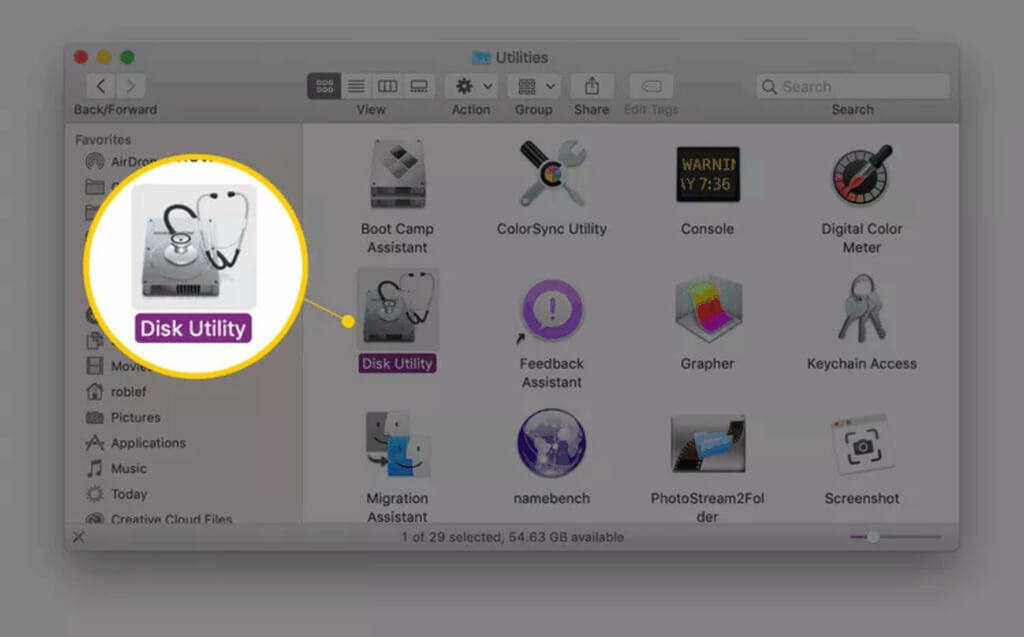
- Open Disk Utility: Navigate to Applications > Utilities > Disk Utility.
- Select Destination: Click on your new SSD in the sidebar.
- Use Restore: Select the Restore button from the top menu.
- Set Source: Choose your Mac HDD from the "Restore from" dropdown menu.
- Execute: Click "Restore" to begin the transfer.
Pros![]()
- Native & Free: Built directly into macOS with no hidden costs.
- Zero Footprint: No third-party software installation required.
Cons![]()
- Steep Learning Curve: Less intuitive for beginners or non-technical users.
- Unreliable Bootability: Cloned macOS drives frequently fail to boot due to Apple's modern security protocols (like APFS and M1/M2/M3/M4/M5 chips).
- Permission Hurdles: Prone to failure due to strict system-level security permissions.
- Performance: Significantly slower speeds compared to dedicated professional tools.
Troubleshooting Common Issues
- SSD Not Recognized: Check your cable connections or try a different USB port.
- Cloning Errors: Ensure the destination SSD has enough free space and that the source HDD is not corrupted.
- Slow Progress: Close all background applications to free up system resources.
Conclusion
To clone Mac HDD to SSD is the most effective way to modernize your Mac experience. While Disk Utility is a viable free option, Tatasoft Disk Clone for Mac provides a much more reliable, "one-click" experience that ensures your data and OS arrive safely on your new drive on macOS 26 -10.9.
Don't wait for your HDD to fail. Download Tatasoft Disk Clone for Mac today and enjoy the speed you deserve!
FAQs
The duration of the cloning process depends on the volume of data being transferred and the speed of your hardware. Generally, it can take anywhere from 30 minutes to a few hours using Tatasoft Disk Clone. To ensure the fastest possible transfer, it is recommended to clone a Mac hard drive to an external SSD using a high-speed USB 3.0 or USB-C connection.
Yes, cloning is specifically designed to create an exact, bit-by-bit copy of your hard drive without any data loss. It is always a best practice to create a bootable backup of macOS Sequoia to account for any unexpected power or hardware interruptions.
If your SSD isn't detected, first check that all connections are secure. If you are using an external adapter, try connecting it to a different USB port. For the best results when cloning Mac OS drives via Tatasoft Disk Clone, ensure the SSD is properly formatted and recognized in Finder before launching the Mac disk clone software.
While you can clone a Mac hard drive using Disk Utility, it is often less intuitive and may take longer than professional tools. Tatasoft Disk Clone for Mac provides a more user-friendly interface and specialized features like guaranteed bootability, making it the more reliable choice for a seamless OS transition.
No, you do not need to reinstall the operating system. A successful clone migrates everything—including the OS, system settings, applications, and files. Once the process is complete, you can simply select the new SSD as your startup disk to enjoy a significantly faster and more responsive Mac.
Related Articles
- Feb 20, 2026Top 5 Mac Disk Clone Software
- Mar 03, 2026A Step-by-Step Guide on How to Clone Mac Hard Drive to USB Flash Drive
- Feb 13, 2026Easily Clone Your Mac Hard Drive to an External SSD
- Feb 27, 2026The Effective Solution for Cloning NTFS Drives on Mac
- Feb 26, 2026How to Clone macOS 26 Tahoe to an External Hard Drive and Make it Bootable
- Mar 04, 2026How to Clone macOS to SSD for Ultimate Performance

A dedicated technical writer at Tatasoft with over four years of specialized expertise in computing technology. She crafts actionable, user-centric content for tech niches, specializing in disk cloning, data management, and video solutions for Windows and Mac.
Read full bio

This article has been approved by Ben Lee. Ben's dedication to excellence and his comprehensive knowledge of Windows and Mac technologies make him an essential part of any technical writing team. With a career marked by continuous learning and adaptation to new technologies, Ben remains at the forefront of the ever-evolving tech landscape.