Written byJanet BashorunUpdated on Mar 03, 2026
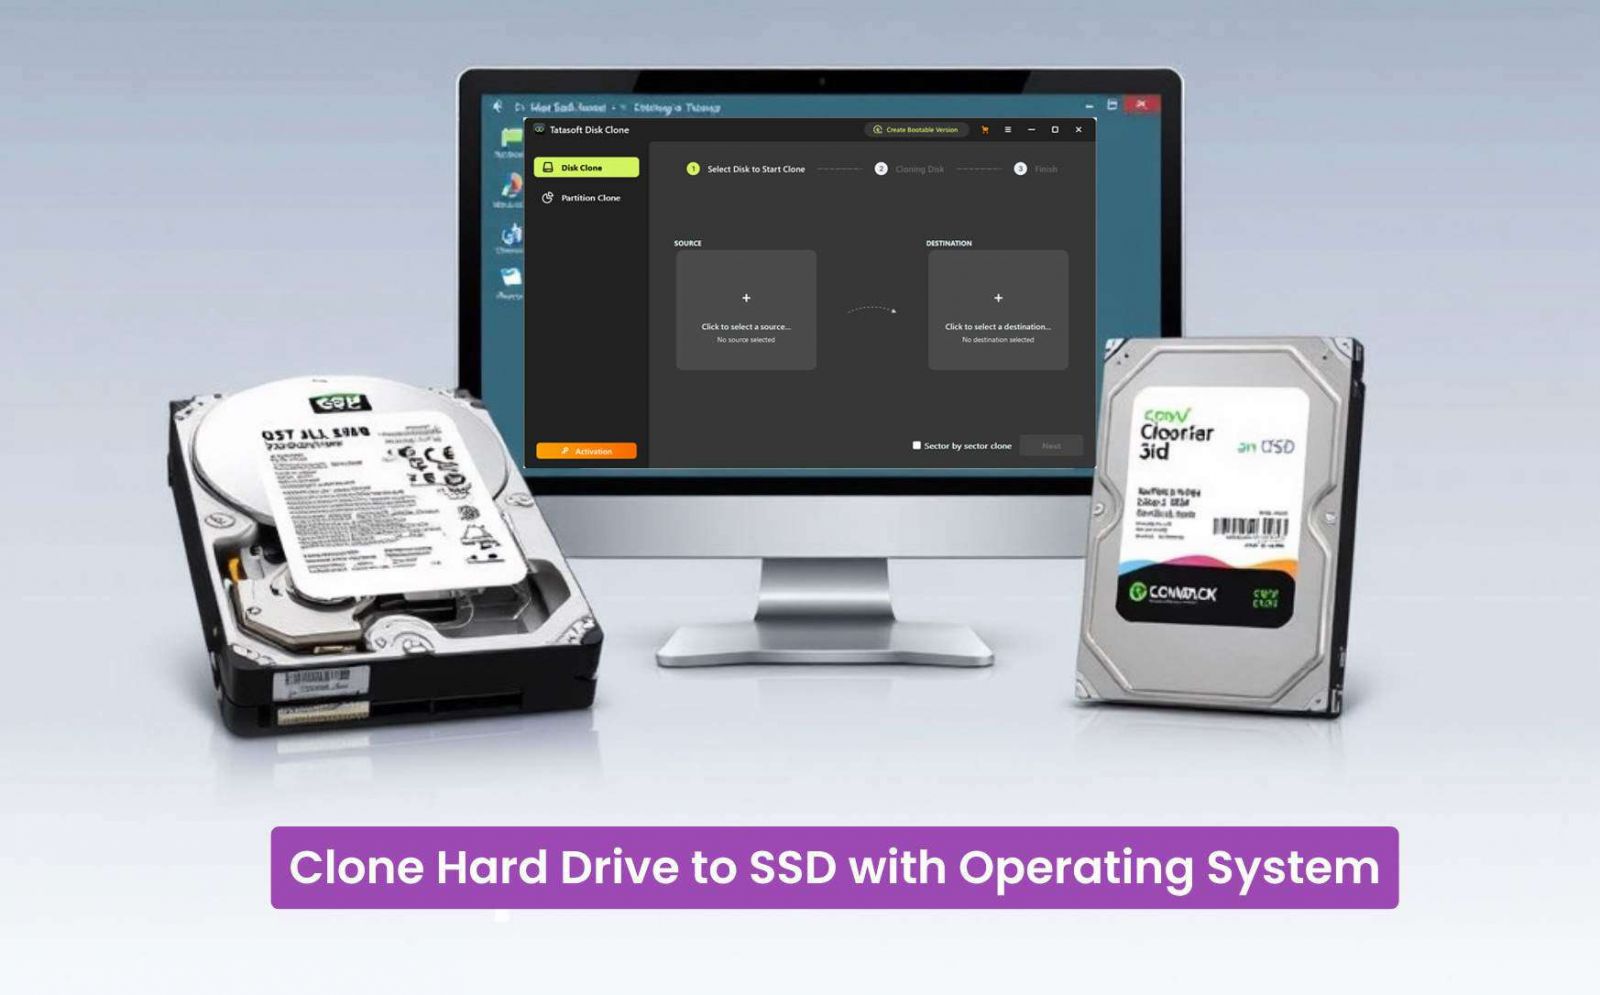
Three Simple Steps to Clone Hard Drive to SSD with Operating System
Approved byBen Lee
Brief introduction: Cloning your hard drive to SSD with operating system is a crucial step for anyone looking to enhance their computer's performance. SSDs are known for their speed, reliability, and energy efficiency compared to traditional HDDs (Hard Disk Drives). This article will explore the benefits of upgrading OS disk to an SSD, provide a detailed guide on using Tatasoft Disk Clone, and offer essential tips for a successful OS migration.
In this article
Benefits of Cloning Operating System to SSD
1. Improved Performance
Transitioning hard disk with OS to an SSD can significantly reduce boot times and enhance overall system responsiveness. Applications load faster, and data transfers are more efficient.
2. Greater Reliability
SSDs are more resilient since they lack moving parts. This makes them less prone to failure, ensuring your data remains intact over time.
3. Lower Power Consumption
SSDs typically consume less power than HDDs, which is advantageous for laptop users. This leads to longer battery life and less heat generation.
4. Quieter Operation
Without moving parts, SSDs operate silently, providing a quieter computing experience.
Preparing for the OS Disk Cloning Process
1. Check Compatibility
Before cloning your hard drive to SSD with operating system, confirm that your SSD is compatible with your system. Pay attention to the interface type (SATA or NVMe) and ensure it fits your device.
2. Backup Important Data
Always back up your essential files on the target SSD before starting the cloning process. This precaution prevents potential data loss as cloning will erase all the content on the target drive.
3. Gather Necessary Tools
Ensure you have the Tatasoft Disk Clone downloaded and installed. You may also need a SATA-to-USB adapter if you're connecting the SSD externally.
4. Clean your OS disk before cloning
Delete Unnecessary Files (temporary files, downloads, caches, and any data you won't need on the new drive) and uninstall unneeded programs to free up space and simplify the clone.
5. Create a Cloning Plan
Outline your cloning process, including timelines and any specific configurations you may need. Being organized can reduce stress and potential errors during the procedure.
3 Steps to Clone Hard Drive with OS to SSD
Step 1: Launch Tatasoft Disk Clone and navigate to Disk Clone
Step 2: Select source hard drive and target SSD
- ① Select Source Drive: Choose your existing hard drive where the operating system is installed.
- ② Select Target Drive: Pick the SSD that will receive the cloned data.

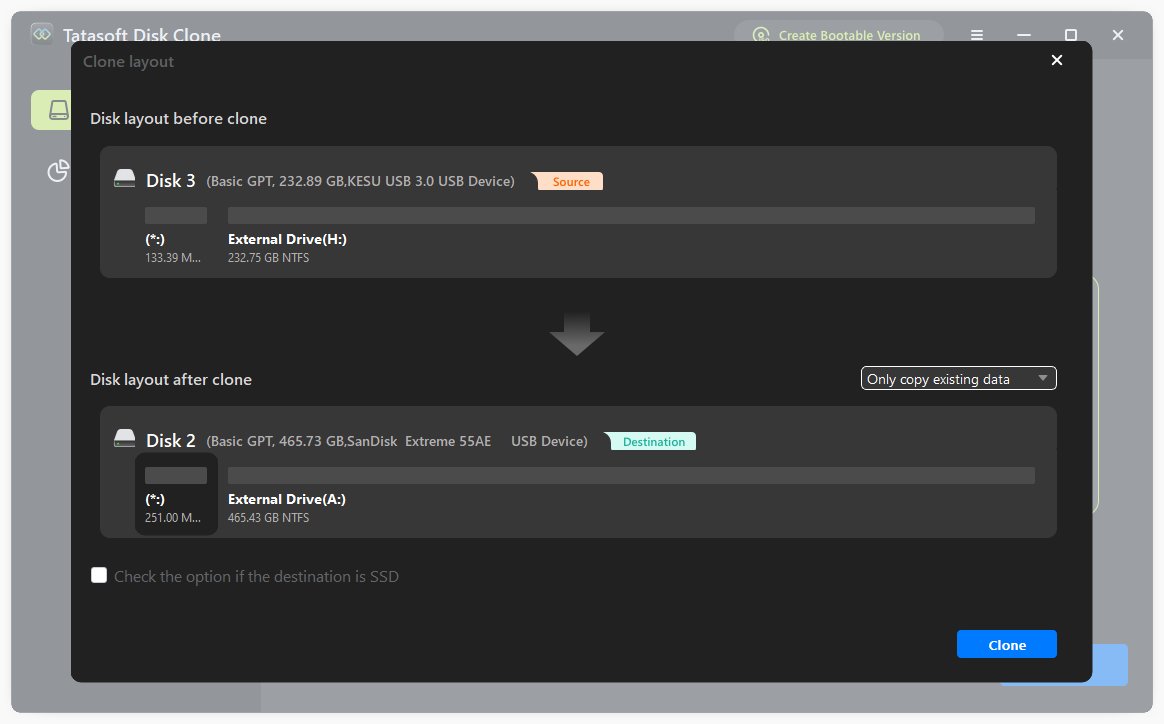
Step 3: Configure hard disk cloning options and start to clone
- ① Adjust partition sizes if necessary to fit the SSD.
- ② Check the option if the destination is SSD, which maintains peak performance and extends lifespan of your SSD.
- ③ Click on the "Clone" button to begin the cloning process. Tatasoft will handle the data transfer efficiently.
Change to boot from the new SSD after cloning OS disk to SSD
Once the process is complete, check the SSD to confirm that the operating system and data have been cloned successfully. Test booting from the SSD to ensure everything functions correctly.
To boot from the cloned SSD:
- ① Restart your computer and press the BIOS/UEFI setup key (e.g., F2, Del, or F12) during startup to access the settings.
- ② In the BIOS/UEFI menu, navigate to the boot options and prioritize the cloned SSD as the first boot device.
- ③ Ensure the boot mode (Legacy for MBR partitions or UEFI for GPT) matches the SSD's partition style for compatibility.
- ④ Save changes, exit BIOS/UEFI, and restart to verify successful booting from the SSD.
Common Issues and Solutions
1. Drive Not Recognized
If your SSD isn't detected during cloning your hard drive, ensure all connections are secure. You may need to initialize the SSD in Disk Management if it's new.
2. Insufficient Space Errors
If you face space issues, clean up the source drive before cloning. Ensure your SSD has enough capacity for the OS migration in advance.
3. Boot Problems After Cloning
If your system doesn't boot from the SSD, check BIOS settings to ensure the SSD is set as the primary boot device. You might need to repair the bootloader.
4. Cloning Software Crashes
If Tatasoft crashes during the process, restart your computer and ensure that no other resource-intensive applications are running. Re-attempt the cloning process after ensuring system stability.
Best Practices for Cloning OS disk to SSD
1. Keep Disk Copy Software Updated
Ensure your Tatasoft disk cloning software is up to date to utilize the latest features and improvements.
2. Monitor SSD Health
After cloning OS disk, use monitoring tools to keep an eye on the SSD’s health and performance.
3. Test Your System Post-Cloning
After the cloning process, run diagnostics on your system to check for any anomalies or issues. This can help catch problems early.
Expert Insight: For a successful hard drive cloning experience, it's crucial to ensure your SSD is securely connected and your settings are double-checked before starting the process. Using Tatasoft for cloning simplifies the procedure and minimizes the risk of data loss, making the transition to your new SSD smooth and efficient.
Conclusion
Cloning your hard drive to SSD with operating system is an effective way to improve your computer's performance and reliability. By following the guidelines in this article and utilizing Tatasoft disk cloning software, you can achieve a seamless transition to an SSD, even clone hard drive to a smaller SSD. With your OS running on an SSD, you’ll enjoy faster boot times, enhanced responsiveness, and a better overall computing experience.
Frequently Asked Questions (FAQs)
The duration depends on the amount of data being transferred on your system. Typically, it can take anywhere from 30 minutes to a few hours.
It's recommended to avoid using your computer during the cloning process to prevent interruptions and ensure a successful transfer. If the system is occupied, it will most likely automatically restart the computer and perform cloning in WinPE mode.
You can still clone as long as the data on your source HDD fits within the available space on the SSD. Be sure to remove unnecessary files on the HDD beforehand.
Yes, if cloing a hard drive with bad sectors, Tatasoft Disk Clone will automatically ignore the bad sectors to ensure smooth data transfer without interruptions. Fixing any errors on the source drive before cloning is recommended if the disk has severe physical damage (e.g., worsening bad sectors or hardware degradation). It might help prevent future issues, but it's not essential for successful cloning.
Related Articles
- Jan 28, 2026A Comprehensive Guide to Samsung Magician for Data Migration
- Mar 09, 2026Seamlessly Clone Windows OS to a Smaller SSD
- Feb 10, 2026How to Seamlessly Copy Your Windows Installation to an SSD
- Feb 10, 2026Expert Tips for Cloning Your Hard Drive for Free Using Command Prompt (CMD)
- Dec 17, 2025Disk Cloning vs. Disk Imaging: Which Backup Solution is Right for You?
- Dec 17, 2025How to Clone Your Disk to Larger Disk Seamlessly?

A dedicated technical writer at Tatasoft with over four years of specialized expertise in computing technology. She crafts actionable, user-centric content for tech niches, specializing in disk cloning, data management, and video solutions for Windows and Mac.
Read full bio

This article has been approved by Ben Lee. Ben's dedication to excellence and his comprehensive knowledge of Windows and Mac technologies make him an essential part of any technical writing team. With a career marked by continuous learning and adaptation to new technologies, Ben remains at the forefront of the ever-evolving tech landscape.