Written byJanet BashorunUpdated on Mar 09, 2026
Brief introduction: Your old 1TB HDD is crawling, but a 1TB SSD is pricey. I recently upgraded my boot drive to a compact 500GB NVMe SSD, and the speed difference is night and day. If you’re worried that your "source" data won’t fit onto a smaller "destination" drive, don't panic. This guide shares my personal workflow for a seamless Windows OS migration using Tatasoft Disk Clone.
In this article
Why Clone Windows OS to a Smaller SSD?
Upgrading to an SSD is the single best way to breathe life into an aging PC. While traditional HDDs are fine for mass storage, they can’t match the near-instant boot times and responsiveness of flash storage.
- Cost-Efficiency: Smaller SSDs are significantly more affordable. You don't always need a 2TB SSD; a smaller 250GB or 500GB drive is often enough for the OS and essential apps.
- Space Optimization: Moving your OS to a dedicated SSD allows you to keep your bulky files (movies, raw photos) on your old HDD.
- Performance: Even a smaller SSD significantly outperforms a larger HDD in read/write cycles.
Preparing for the Cloning Process
To ensure a "large-to-small" clone works, your used data must be less than the capacity of the new SSD.
- Backup Important Data: Always backup critical files on the destination disk before cloning your system to a new hard drive to avoid data loss.
- Slim Down Your Drive: Delete temporary files and uninstall unused programs to reduce the "source" size.
- Check Hardware Compatibility: Verify if your new SSD uses SATA or NVMe and ensure you have the right connectors.
- Handle Drive Errors: If your old HDD is failing, you may need a tool like Tatasoft Disk Clone that can clone drives with bad sectors specifically. Or bad sectors may cause the cloning process to hang or fail.
Steps to Clone Windows OS to a Smaller SSD
Step 1: Connect the New SSD
Plug in your new SSD (via SATA-to-USB adapter for laptops or an internal M.2 slot) or install the new SSD into your compute. If the drive is new, use Disk Management to initialize it so Windows recognizes the hardware.
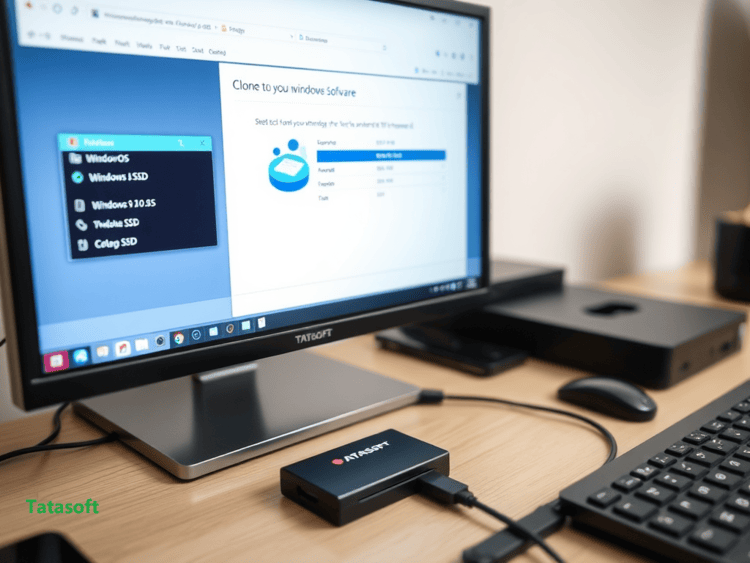
Step 2: Install Tatasoft Disk Clone and Launch the app
- Download Tatasoft Disk Clone for Windows from the official website and install it.
- Launch the app and select Disk Clone from the sidebar.
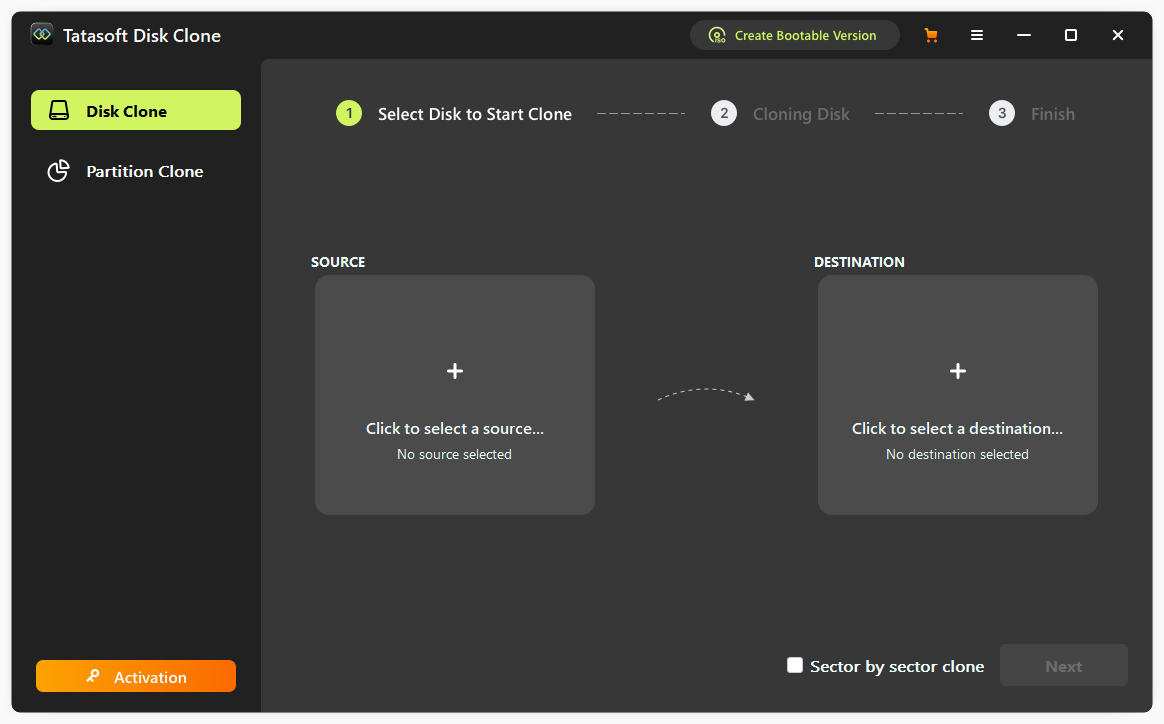
Step 3: Choose the Source and Destination Drives
- Select Source: Your current system HDD (usually Disk 0).
- Select Destination: Your smaller SSD.

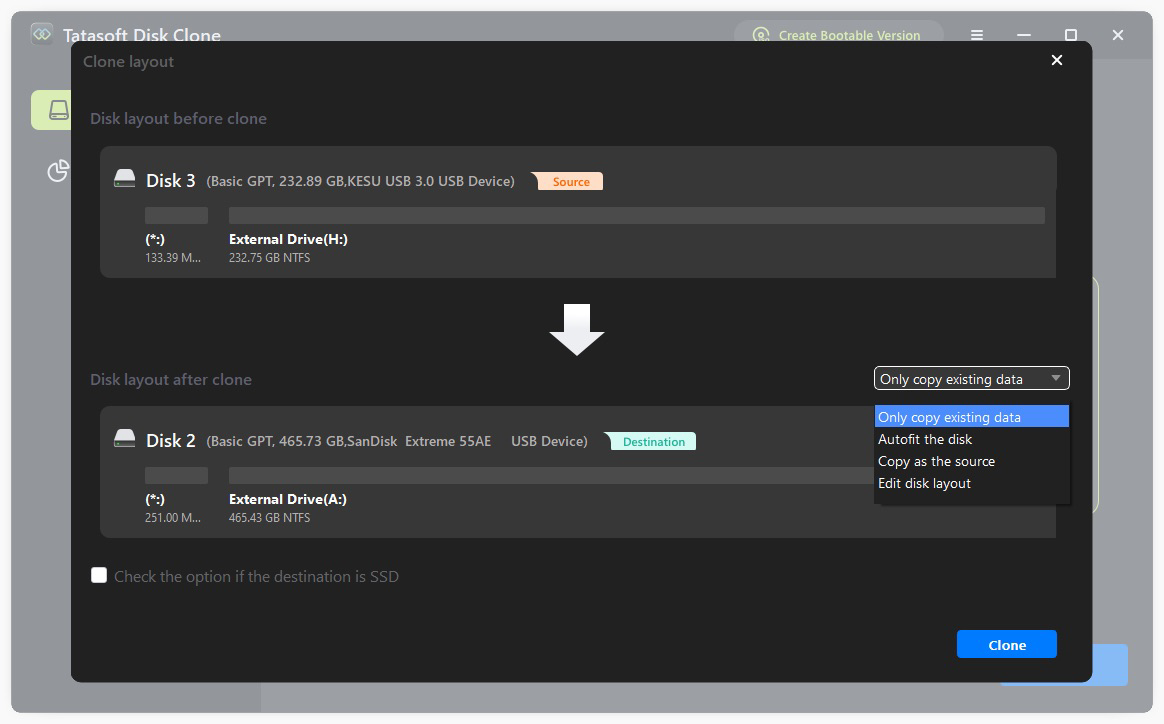
Step 4: Adjust Cloning Settings
- Adjust the partition layout manually to ensure the "C:" drive fits perfectly onto the smaller SSD or just select Autofit the disk to automatically optimize the partition layout.
- Check the box before "Check the option if the destination is SSD". This ensures 4K alignment and enables TRIM, which is vital for the performance and longevity of SSDs.
Step 5: Execute and Boot
Click Clone. Once finished, restart your PC and enter the BIOS (usually by tapping F2 or Del). Change the boot priority so your new SSD is #1.

Pros and Cons of Smaller SSD Migration
| Feature | Pros | Cons |
|---|---|---|
| Performance | Incredible boot and load speeds. | No change in raw CPU/GPU power. |
| Cost | Significantly cheaper than large SSDs. | Requires active storage management. |
| Reliability | No moving parts; shock resistant. | Limited write cycles (though high for modern drives). |
| Process | Smart cloning software makes it "one-click". | Risk of "insufficient space" errors if not cleaned. |
Troubleshooting Common Migration Issues
- The "Won't Boot" Blues: If you get a black screen, ensure your SSD is initialized and the HDD was cloned to USB or the correct internal port.
- Misaligned Partitions: Tatasoft handles 4K alignment automatically, but if you used a different tool, your SSD might feel slow.
- Unexpected Capacity: If your new drive is much larger than you thought, you can always clone to a larger disk later if you decide to upgrade again.
Conclusion
Upgrading my system to a smaller SSD was the best $50 I ever spent on my computer. By using Tatasoft Disk Clone, I avoided the headache of a fresh Windows installation and kept all my settings exactly where I like them.
By following the steps outlined in this guide, you can confidently migrate your operating system and essential applications to your new SSD, enhancing your computing experience. Don’t settle for a sluggish system—download Tatasoft disk cloning software today and unlock the full potential of your hardware with a swift and efficient upgrade!
FAQs
Yes, as long as your actual used data fits on the new drive. Tatasoft's "Smart Clone" technology handles the resizing of partitions automatically and it’s a reliable disk clone software to migrate your system HDD to an SSD
Cloning preserves all your applications, settings, and files, saving you hours of reconfiguration. It is a faster, more user-friendly way to upgrade.
Generally, no. Swapping a hard drive is considered a standard user upgrade, but always check your manufacturer’s policy first.
The process is identical! You can always use the same software like Tatasoft Disk Clone to move your data to an even bigger drive in the future and resize partitions during cloning to maximize disk space utilization.
Related Articles
- Jan 28, 2026A Comprehensive Guide to Samsung Magician for Data Migration
- Feb 27, 2026A Step-by-Step Guide on How to Clone SSD to HDD in Windows 10/11
- Jan 13, 2026A Simple Guide to Clone Bootable USB to Another Drive
- Dec 17, 2025How to Clone Desktop Operating System to SSD for Optimal Performance
- Feb 08, 2026Top 8 Disk Cloning Software in 2026: Free & Paid
- Feb 09, 2026Migrate Windows 11 to SSD with Ease - Boost Your PC Performance

A dedicated technical writer at Tatasoft with over four years of specialized expertise in computing technology. She crafts actionable, user-centric content for tech niches, specializing in disk cloning, data management, and video solutions for Windows and Mac.
Read full bio

This article has been approved by Ben Lee. Ben's dedication to excellence and his comprehensive knowledge of Windows and Mac technologies make him an essential part of any technical writing team. With a career marked by continuous learning and adaptation to new technologies, Ben remains at the forefront of the ever-evolving tech landscape.