Written byJanet BashorunUpdated on Feb 25, 2026
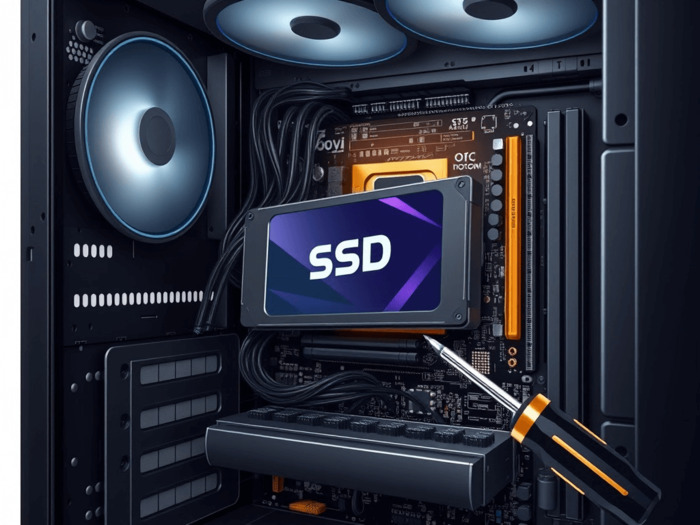
How to Install a Solid-State Drive to Boost Your Computer's Performance
Approved byBen Lee
Brief introduction: How to install a Solid State Drive (SSD) is a question many users ask when looking to upgrade their computer's performance. SSDs provide significantly faster read and write speeds compared to traditional hard disk drives (HDDs), leading to quicker boot times, faster application launches, and improved overall system responsiveness. This guide provides a step-by-step walkthrough on how to install a Solid State Drive and how to use Tatasoft Disk Clone to migrate your data seamlessly.
In this article
Understanding Solid State Drives
Before you install an SSD, you must choose the right type for your hardware:
SATA SSDs: The most common type, compatible with almost all desktops and older laptops.
NVMe SSDs: Connect via the PCIe interface for ultra-fast performance, ideal for high-performance systems. If you are upgrading from an old platter drive, you can learn how to clone HDD to NVMe SSD.
M.2 SSDs: A small form-factor that can be either SATA or NVMe. Many modern laptops require you to clone HDD to M.2 SSD to enjoy these compact speeds.
When selecting a drive, consider reputable brands like Samsung, Crucial, or Western Digital and choose a capacity (typically 120GB to 4TB) that fits your storage needs. When migrating Windows 11, ensure the destination SSD has sufficient capacity to accommodate the operating system and all existing data.
However, the upgrade process involves more than just plugging in new hardware; you must also ensure your operating system and personal files are moved safely. In this comprehensive guide, we will walk you through the physical steps to install a solid state drive and show you how to use Tatasoft Disk Clone — a specialized tool designed for seamless data migration.
Preparing for Installation
1. Backup Your Data
Before starting the installation, make sure to back up any files on your new SSD. Since cloning formats the drive, any existing data will be lost. We recommend using an external device or a cloud service to keep your files secure.
2. Gather Tools
You will need a Phillips-head screwdriver, your new SSD, and an external enclosure if you plan to clone your drive before physical installation.
3. Get Cloning Software:
Download Tatasoft Disk Clone to move your OS and data.
Step-by-Step Guide to Install an SSD
Step 1: Power Down and Open the Case
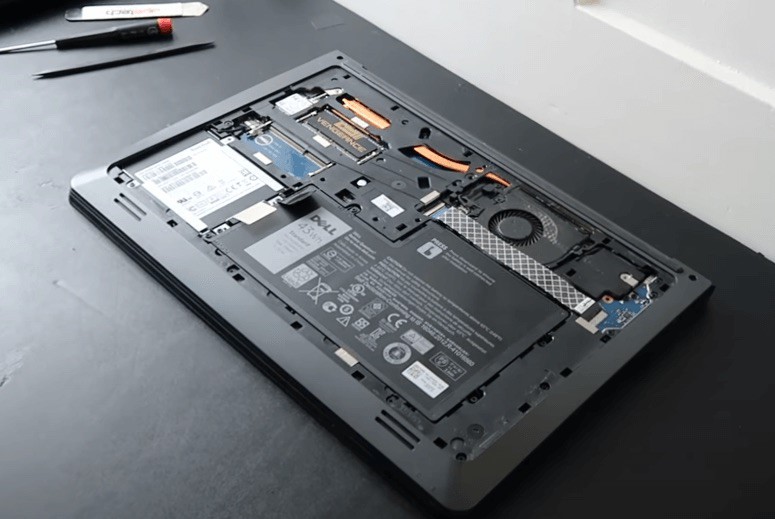
Ensure your computer is completely powered off and unplugged. For laptops, remove the battery if possible. Use your screwdriver to remove the side panel of your desktop or the back panel of your laptop.
Step 2: Locate and Remove the Old Drive (if applicable)
Identify your current HDD or SSD. If you are replacing it, carefully disconnect the SATA and power cables (for SATA drives) or unscrew the mounting screw (for M.2 drives). Take note of how it was connected, as you will need to install the new SSD in the same manner.
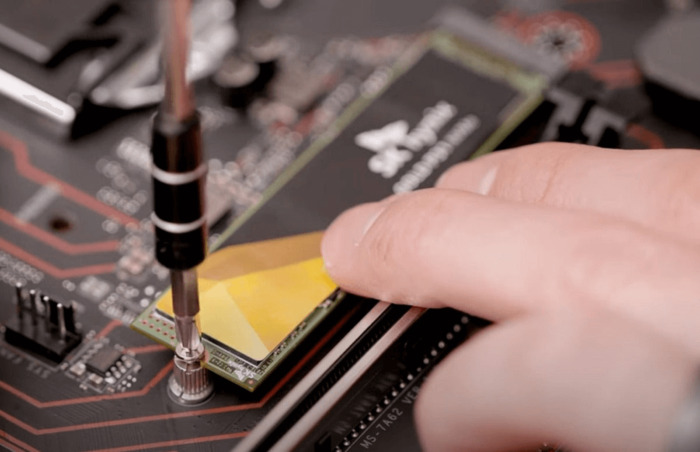
Step 3: Insert the New SSD
Place the new SSD into the bay or M.2 slot. Secure it with screws and reconnect any necessary cables.
Step 4: Close the Computer Case
Once the SSD is securely installed, replace the side panel or back cover of your computer. Use screws to secure it properly.
Step 5: Boot Up Your Computer
Plug your computer back in and power it on. Enter the BIOS (usually by pressing F2 or Delete) to ensure the SSD is recognized. Set it as the primary boot device if necessary.
Transferring Data to SSD with Tatasoft Disk Clone
To avoid reinstalling your OS and apps, use Tatasoft Disk Clone for a seamless transition. This software is even capable of helping you clone drives with bad sectors if your old hardware is failing.
How to Clone Your Drive:
1. Launch Tatasoft: Open the software on your computer.
2. Select Drives: Choose your old HDD as the Source and the new SSD as the Destination.
3. Edit Disk Layout (optional): You can resize partitions on the destination SSD to fit your needs or perform a direct 1:1 clone. Always remember to check "SSD Optimization."
4. Start Cloning: Confirm your selection and initiate the process. Once complete, verify that all files and your operating system have transferred successfully.

Laptop users can clone their drive by connecting the new SSD via an external enclosure. After cloning, swap the old drive for the new SSD. If you are using high-speed external ports, you can learn about Thunderbolt 4 HDD to SSD cloning for faster transfers.
Common Issues and Troubleshooting
1. Drive Not Recognized: Check that the SSD is properly seated and all cables are tight.
2. Boot Issues: Ensure the SSD is set as the primary boot device in your BIOS settings.
3. Cloning Errors: Ensure the destination SSD has enough space for all data from the source drive
Conclusion
Learning how to install a Solid State Drive is a rewarding DIY project that can breathe new life into an aging PC. By combining high-quality hardware with Tatasoft Disk Clone, you can enjoy a faster, more efficient computing experience without the hassle of a manual setup. Whether you are looking to migrate Windows to SSD or need to clone SSD to SSD for more capacity, this guide will ensure a smooth transition.
Ready to transform your computing experience? Start your SSD upgrade today and experience the remarkable speed and efficiency that comes with solid state drives.
Related Articles
- Dec 17, 2025Disk Cloning vs. Disk Imaging: Which Backup Solution is Right for You?
- Jan 28, 2026A Comprehensive Guide to Samsung Magician for Data Migration
- Dec 17, 2025How to Clone Desktop Operating System to SSD for Optimal Performance
- Feb 10, 2026Expert Tips for Cloning Your Hard Drive for Free Using Command Prompt (CMD)
- Jan 15, 2026A Complete Guide on How to Move Windows 10 to Another Drive Without Reinstalling
- Feb 04, 2026How to Clone C Drive to New SSD and Ensure a Bootable Result

A dedicated technical writer at Tatasoft with over four years of specialized expertise in computing technology. She crafts actionable, user-centric content for tech niches, specializing in disk cloning, data management, and video solutions for Windows and Mac.
Read full bio

This article has been approved by Ben Lee. Ben's dedication to excellence and his comprehensive knowledge of Windows and Mac technologies make him an essential part of any technical writing team. With a career marked by continuous learning and adaptation to new technologies, Ben remains at the forefront of the ever-evolving tech landscape.